My husband works for an international company, and the project he’s assigned to is headquartered in Edinburgh Scotland. He’s been to Scotland 3 times, and I couldn’t go any of those times. They called him back again and the timing worked out for me to go! Yea! So the first thing I thought about packing was my stitching, of course!
I have 2 projects that I need to work on, so I carefully assembled the canvas, my graphs, all the threads I thought I might need, 2 pairs of 14″ stretcher bars (both projects are the same size), scissors, needles, laying tools, etc. When it came time to pack, I carefully put all those things in my suitcase, including my table stand, clamp, and extender arm.
Imagine my surprise when we got to our hotel, and I unpacked everything except the stretcher bars! Where were they? I had gotten everything together! And more important, how on earth was I going to stitch without them!
I already knew that there were no stockists of needlepoint supplies in Edinburgh. What to do? After some consideration, I decided that if I could find an art supply store, with artists stretcher bars for mounting canvas, I could make it work. That would be ideal, and if the plain bars were not available perhaps I could find mounted canvas, remove the canvas and use the bars. My canvas cut was 14″ square, the stitched area is 8″ square, so I figured as long as 1 pair of bars was 10″, 12″ or 14″, I could make it work.
You know, Google is a wonderful thing. I was able to find an art supply store within walking distance of our hotel, so my husband and I set off. It was a small store, but very well stocked, and they had 2 pairs of 14″ bars. I happily purchased them, and off we went.
Here’s what they look like when you buy them:
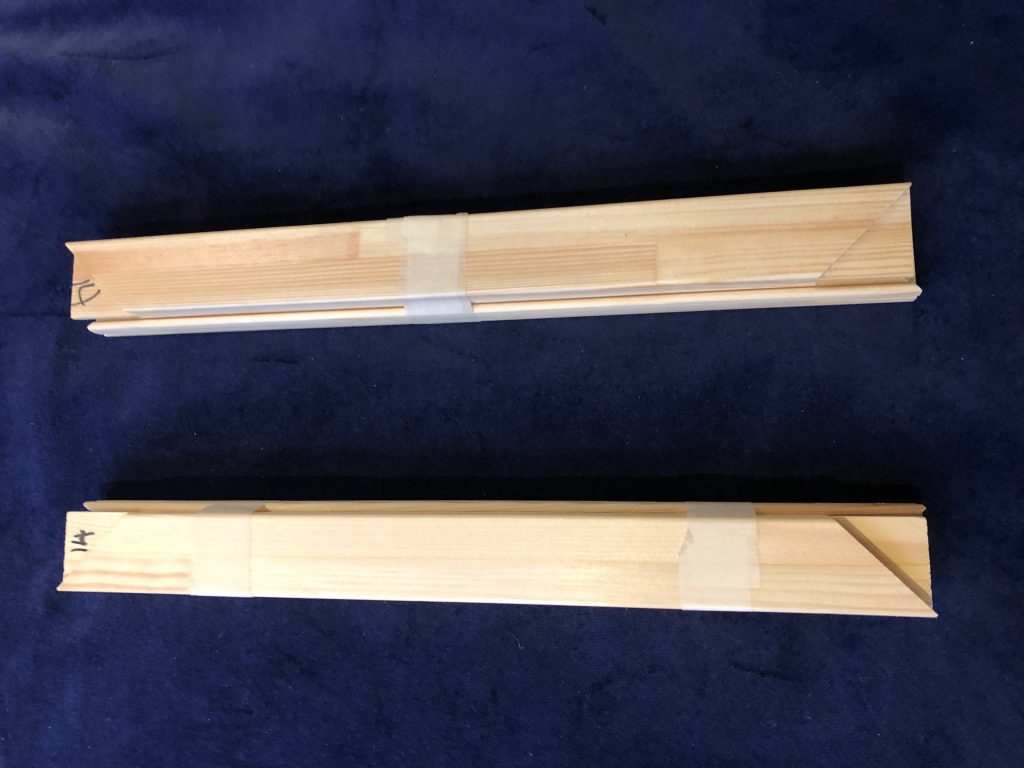
You’ll notice that the length is written on the ends. The ends are not dovetailed like the stretcher bars we buy for needlepoint, but fit together very much the same way.
I took them apart so I had 4 bars:
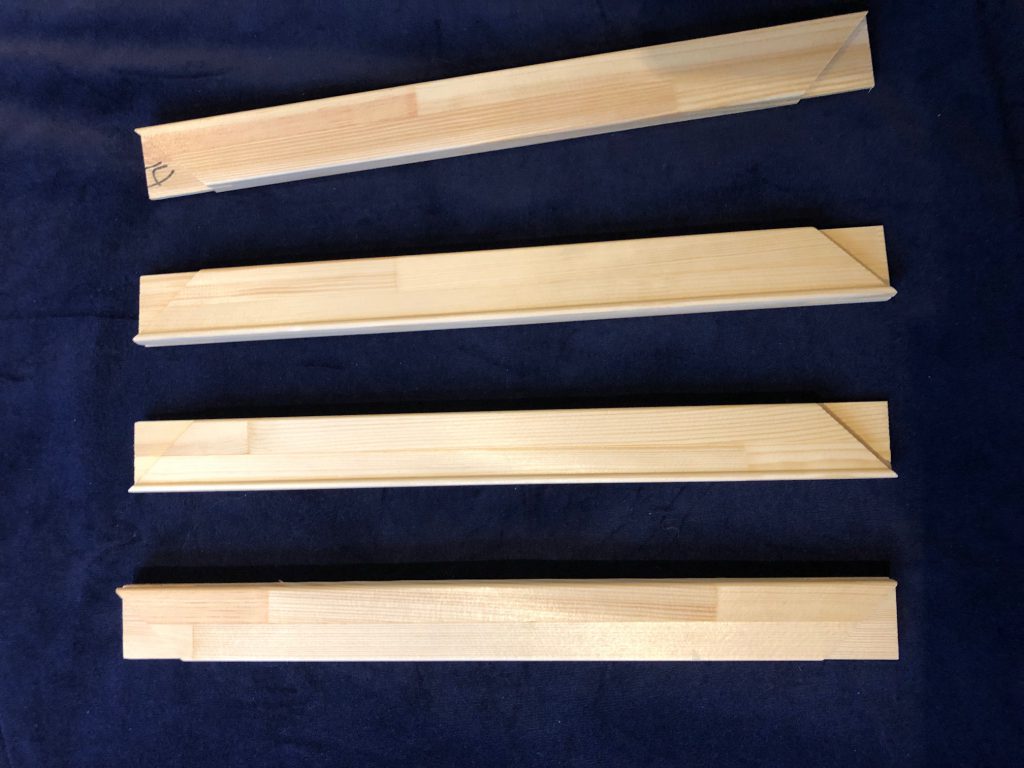
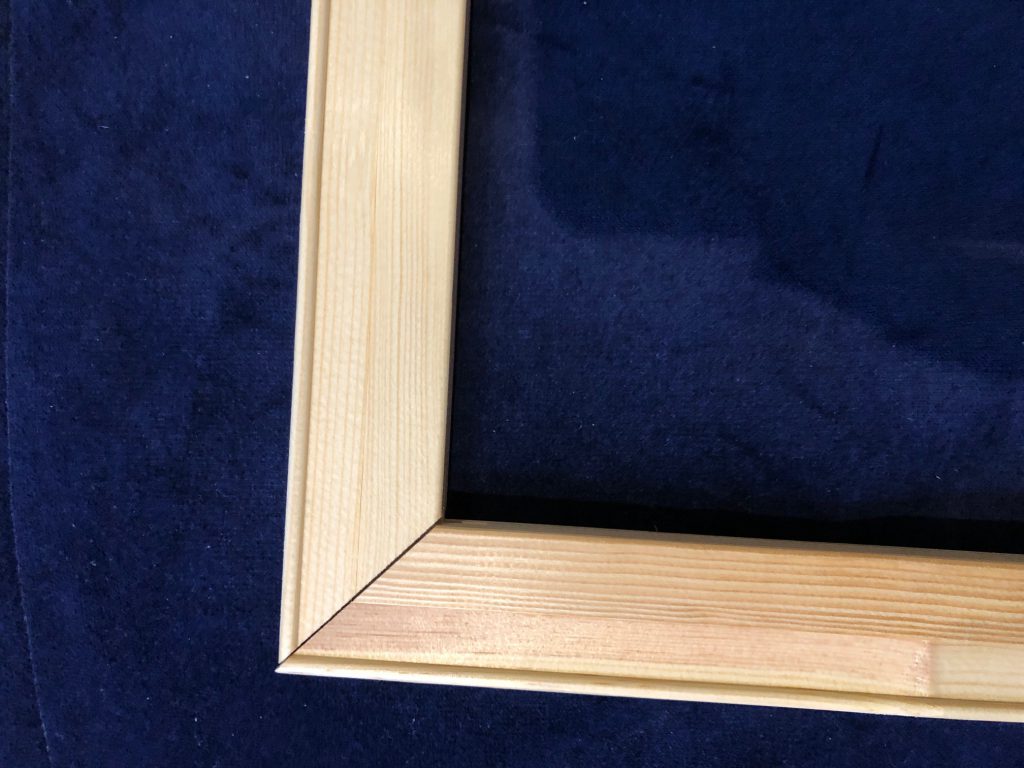
You’ll see that there is a little lip along the edge of the bars. When assembled, the lip should go all the way around on one side.
Very nice! Here’s a close up of the lip:
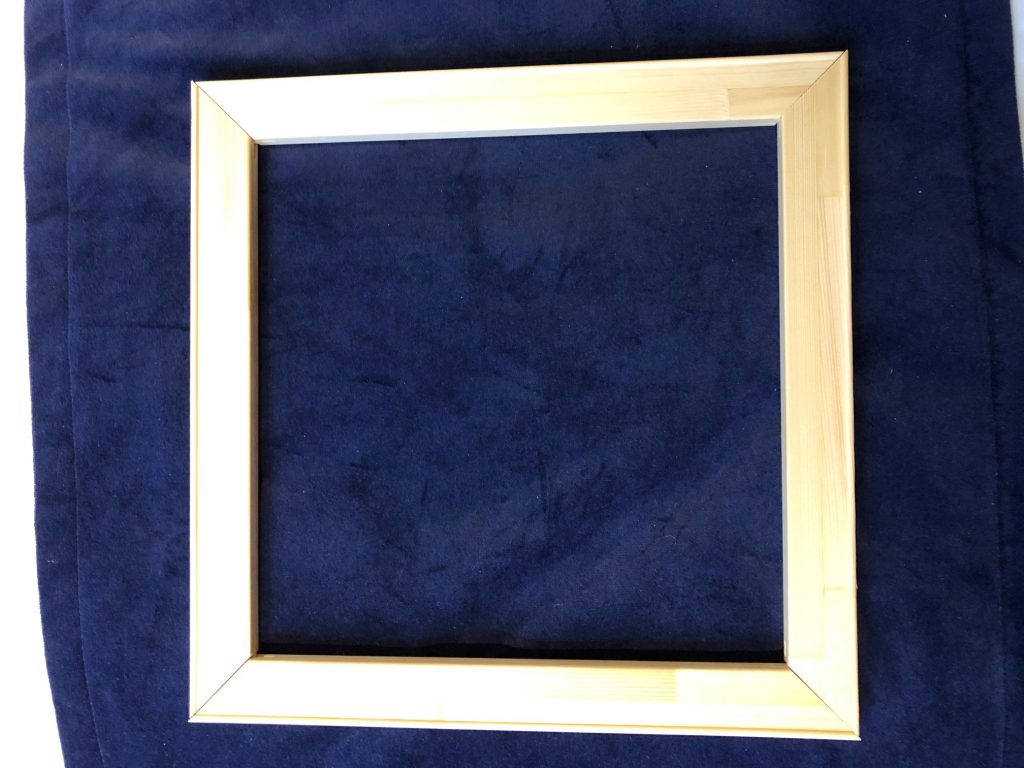
I lay my canvas on the bars, trying it on the side with a lip and the side without, and decided to mount to the side without the lip. Here’s my canvas ready to stitch:
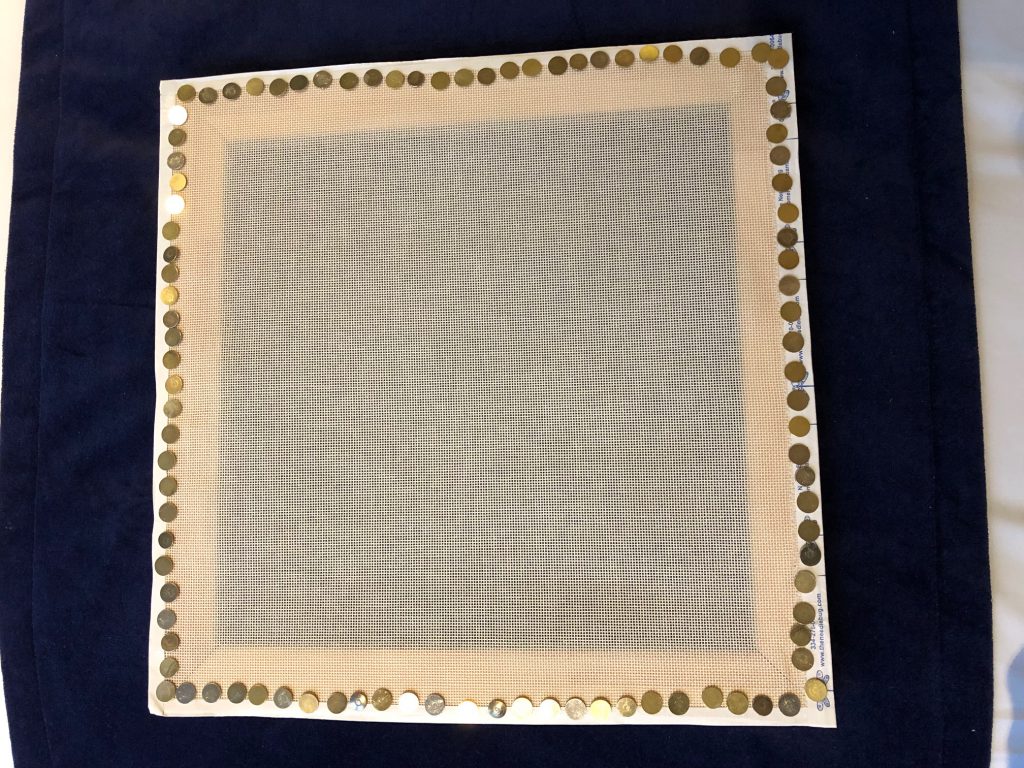
Yes, I always put my tacks that close together. I found it a little more difficult to push the tacks in, and to get the canvas as tight as possible. I’m really spoiled to my Evertites; I don’t have to be careful to get the canvas tight when mounting it because after I adjust the Evertites the canvas is extremely tight. But I know how to mount on regular bars, so I did that, and got it as tight as I could. And I think it will do.
One thing I’ve noticed: I’m glad I got the 14″ bars. The artists bars are much wider than regular needlepoint stretcher bars. The 14″ bars will allow me plenty of stitching room, and I won’t be crowded up against the bars while stitching at the edges.
Some of you have used artists bars before, and use them more than needlepoint bars, so you’re probably reading this post and shaking your head at my “epiphany”. But I’m very happy to have resolved at least this stitching emergency, and will be able to stitch while I’m here.
I’ll share more about my trip in a subsequent post, because I have something very exciting that I’m going to be doing! And I can’t wait to share it with you!