
I believe I’ve mentioned before – I AM NOT A FINISHER! But for this small project, I thought I’d attempt a flat-fold finish. Vonna Pfeiffer, The Twisted Stitcher, has done a couple of fabulous flat-fold finishes for me, and that was the inspiration. Here’s the Spring Quilt Block she finished for me:

It was so beautifully done that I was inspired to give it a try. Vonna has wonderful tutorials on her blog site, The Twisted Stitcher, both videos and downloadable pdfs. I watched the video twice, then read through the written instructions twice. Disclaimer: Vonna’s skills as a finisher and her ability to clearly demonstrate how to do it is not diminished by my rather laughable skills at finishing. For really important things, like teaching models, I’ll leave it to the professionals, but for this rather small project that is strictly for my own use, I attempted it.
Notice that I said I “attempted” it. I do have a finished project, but it is not nearly as refined as Vonna’s finishing. If I did it 40 or 50 or 75 more times, I might aspire to be as perfect as Vonna. But that’s doubtful – I’ll stick to the things I know how to do, like design, draw diagrams and stitch.
Anyway, on with the finishing.
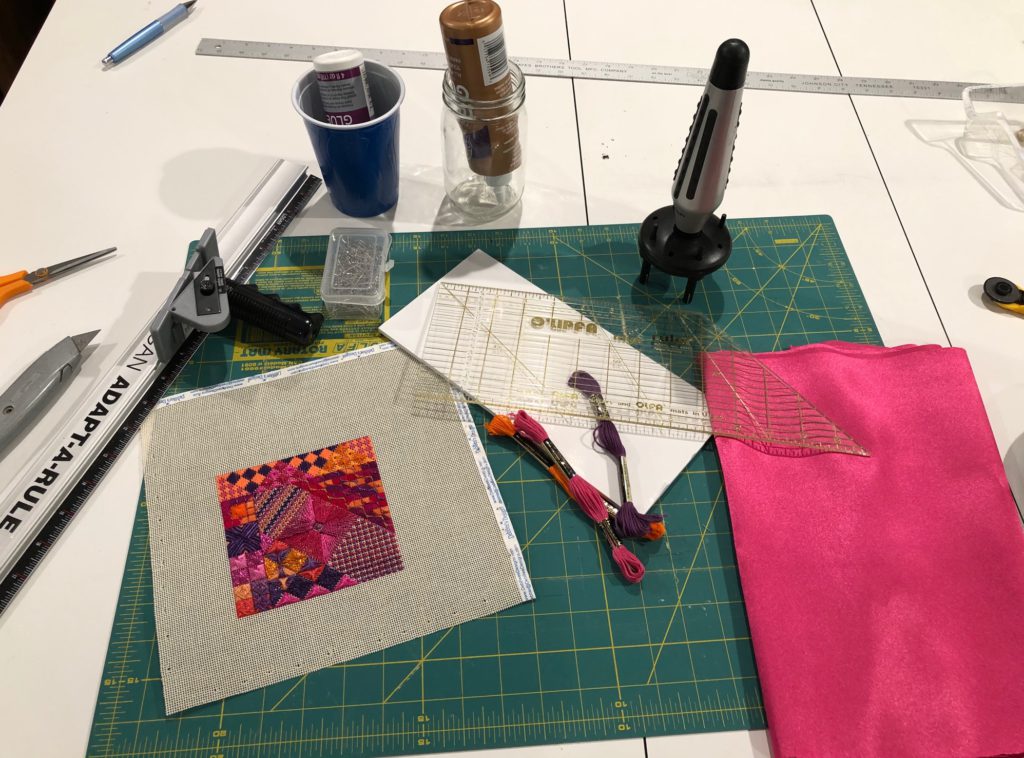
First I assembled my materials. Well, I attempted to assemble my materials. What is left out of the picture – the mounting board, the batting, the spray glue, the clothespins, and a few other things that I had to collect as I went. I bought this yummy raspberry poly-satin, probably not the best kind of fabric to use, but the color was perfect and I didn’t see anything else even close. The floss colors for the cording are DMC 327, 333 and 602.
Then I made a slight departure from Vonna’s instructions – in hindsight, not a great choice. I used 3/8″ foam core for the mounting board for the stitched piece. Vonna recommends backing or mounting board, available at frame shops or big box craft stores, and using 2 pieces together for the stitched piece. I had in mind that I would pin the canvas to the foam core, so I changed that. The foam core is actually a bit thicker than 2 pieces of mounting board, and the mounting board would have been a better choice. Next time (provided there is a next time) I’ll use 2 pieces of mounting board.
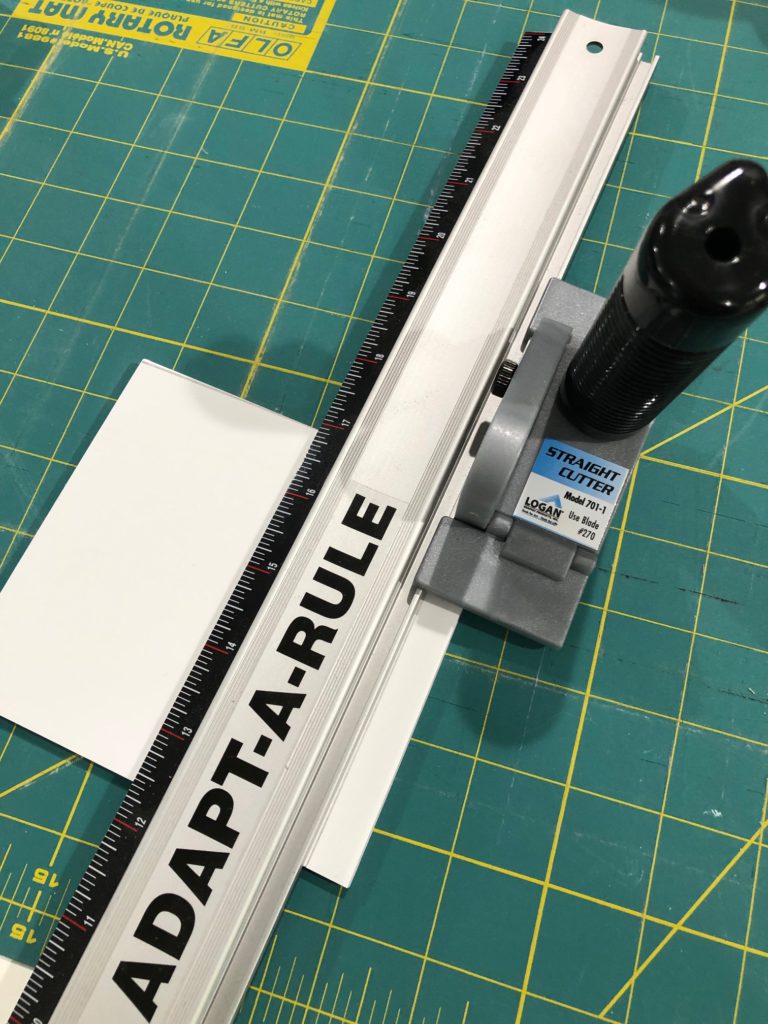
I bought the Logan mat cutter and Adapt-A-Rule at the big box craft store, not quite a full size mat cutter, but adequate for the few times I use it and much easier than using a box knife or Exacto knife.
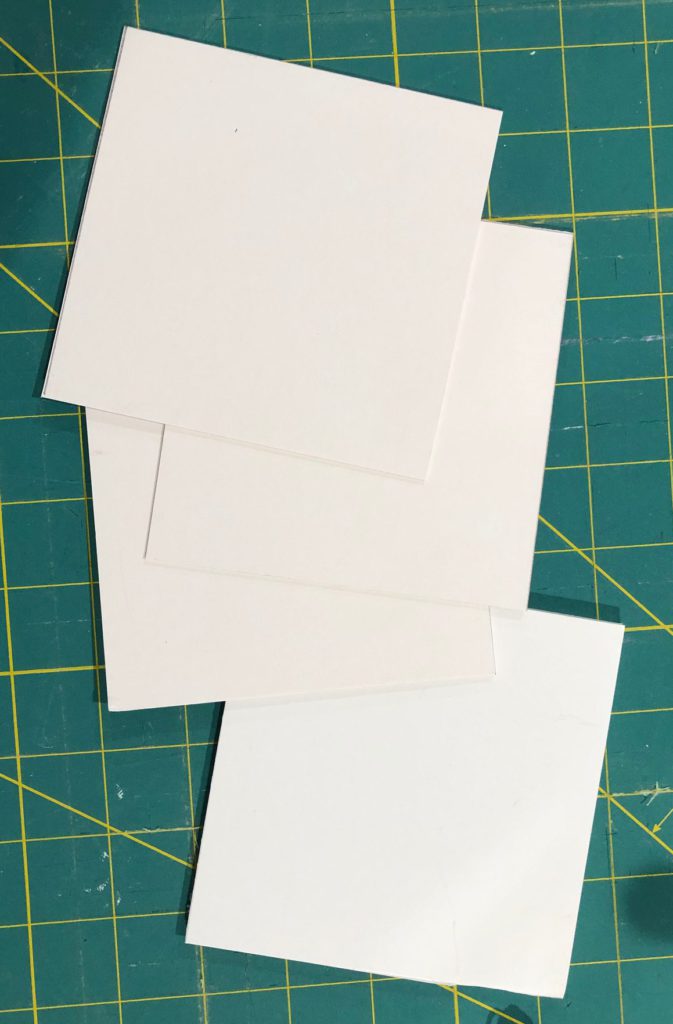
I did use mounting board as recommended for the back and two interior pieces. Here are the three pieces of mounting board and one piece of foam core together.
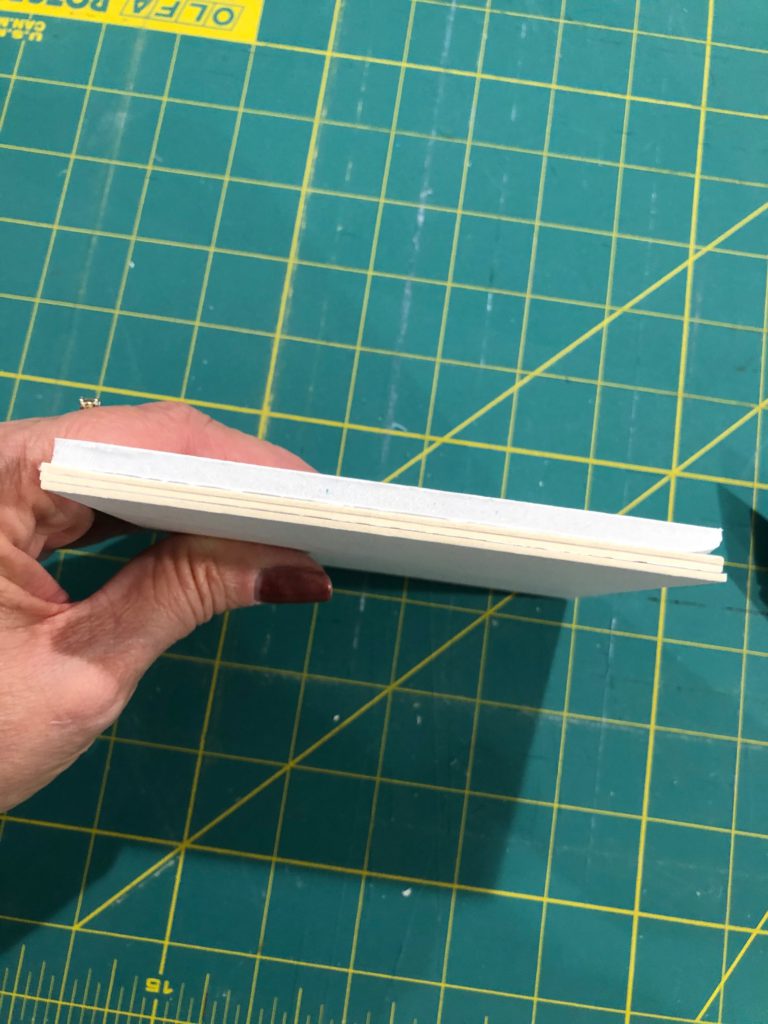
I stacked the pieces together to make sure they were the same size. Notice that the foam core is a little bit smaller; that’s actually a good thing, because the covered board is closer to the size of the mounting boards. You can see how much thicker it is than the mounting boards.
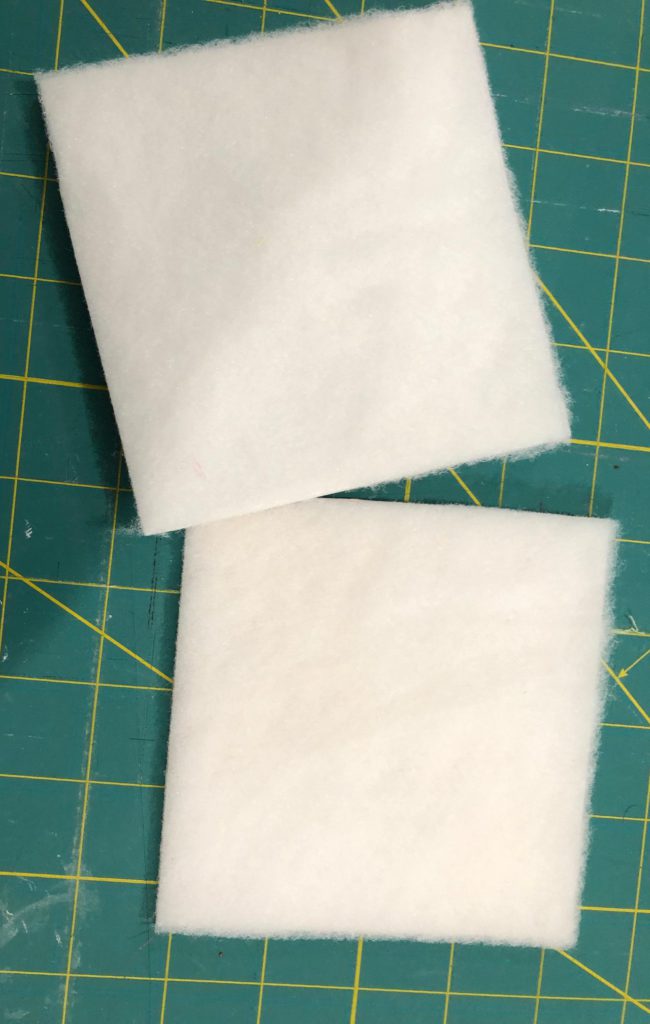
I put the batting (once I located it in my rather disorganized craft cabinet) on the mounting board for the back, and the foam core for the stitched project. Vonna has a really neat idea for this: spray glue on the boards, then lay them on the batting before cutting the batting. Well, it would be a neat idea if you can manage a spray can of glue better than I can. I shouldn’t be trusted with glue of any kind, spray or otherwise. I got it everywhere. Then had to get finger nail polish remover to clean it up, hoping I didn’t wreck my polish too bad since my manicure is still 4 days away.
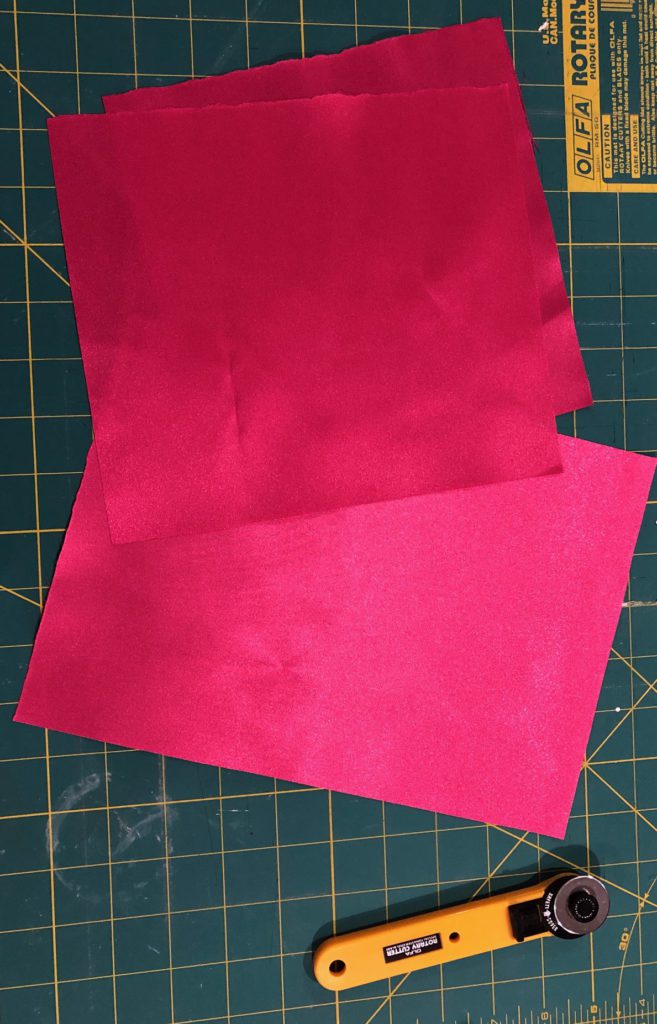
Now it was time for the yummy raspberry fabric. Too bad I had so much glue on my fingers that I had a really hard time with this step, but I managed to get the pieces cut properly according to Vonna’s instructions.
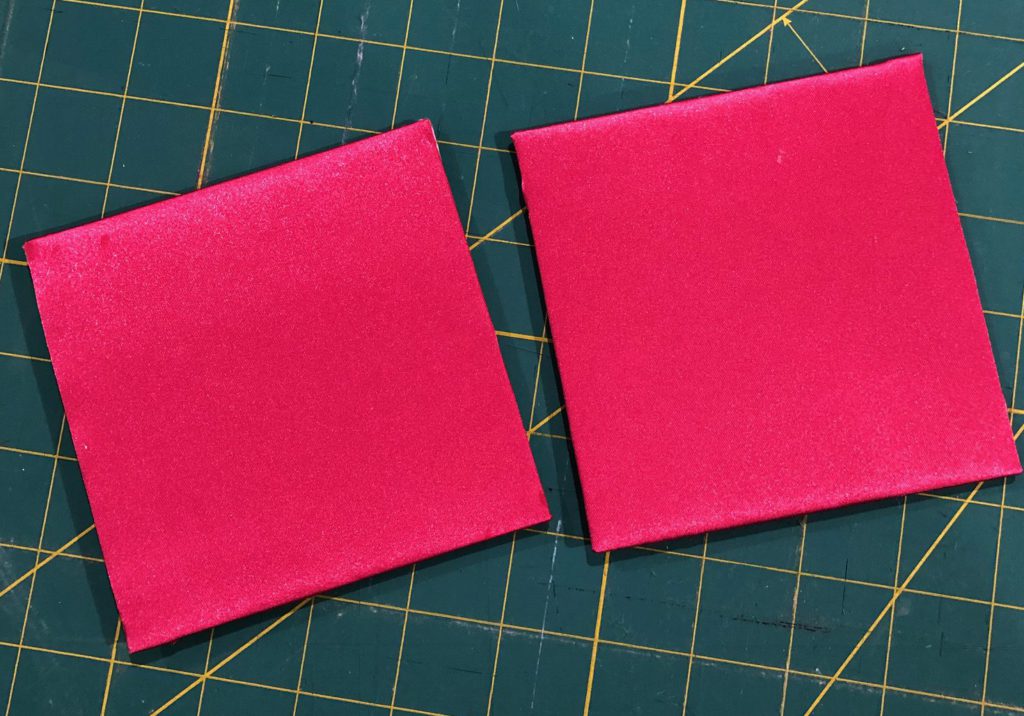
Here are the covered inside pieces. I think I did ok on these.
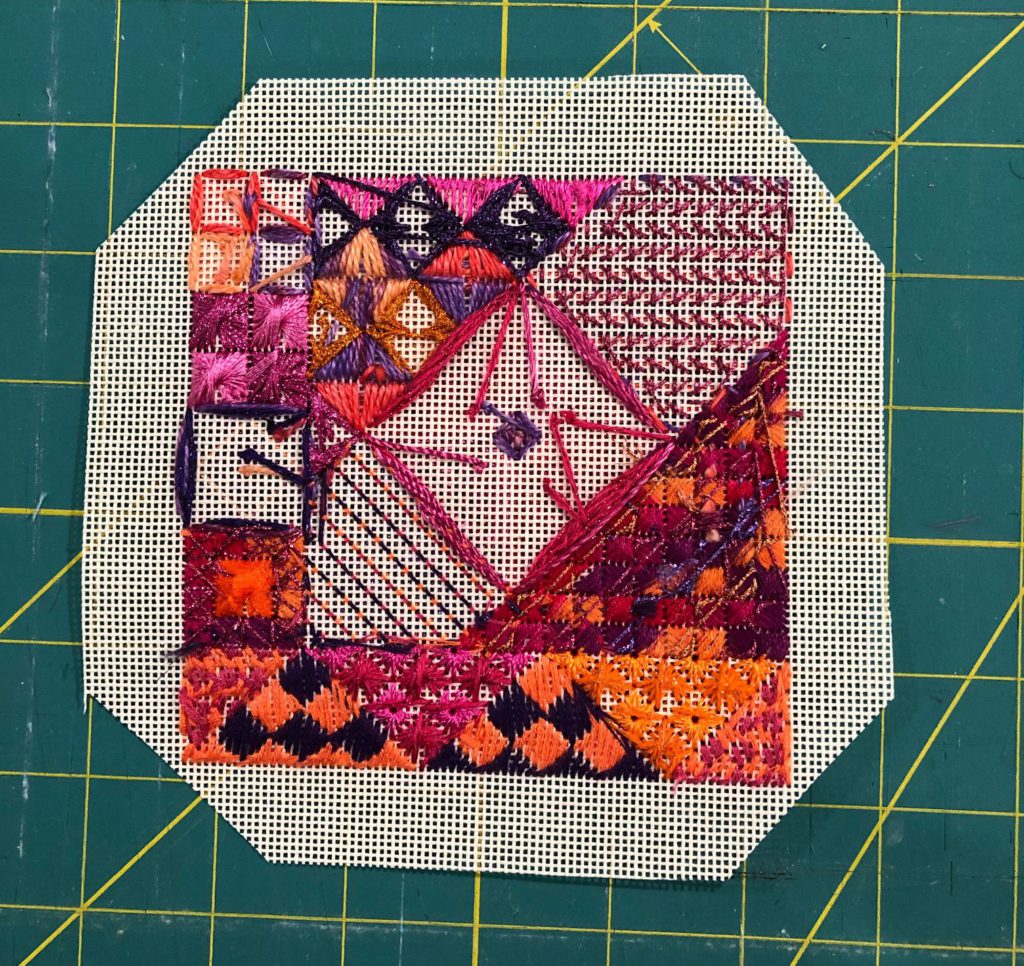
Next I got the front ready, and made a mistake when I was cutting – I didn’t leave enough canvas to go around the foam core as well I’d like, and I didn’t cut the corners close enough because I was too chicken to do so.
Can you see why cutting the corners a little closer is a good thing? I had to work quite a bit to get those corners tucked in. I knew it didn’t have to be perfectly pretty because the cording would cover it, but that was just unacceptable. I did stick pins in the edges of the foam core to make sure I had everything centered before I glued the edges.
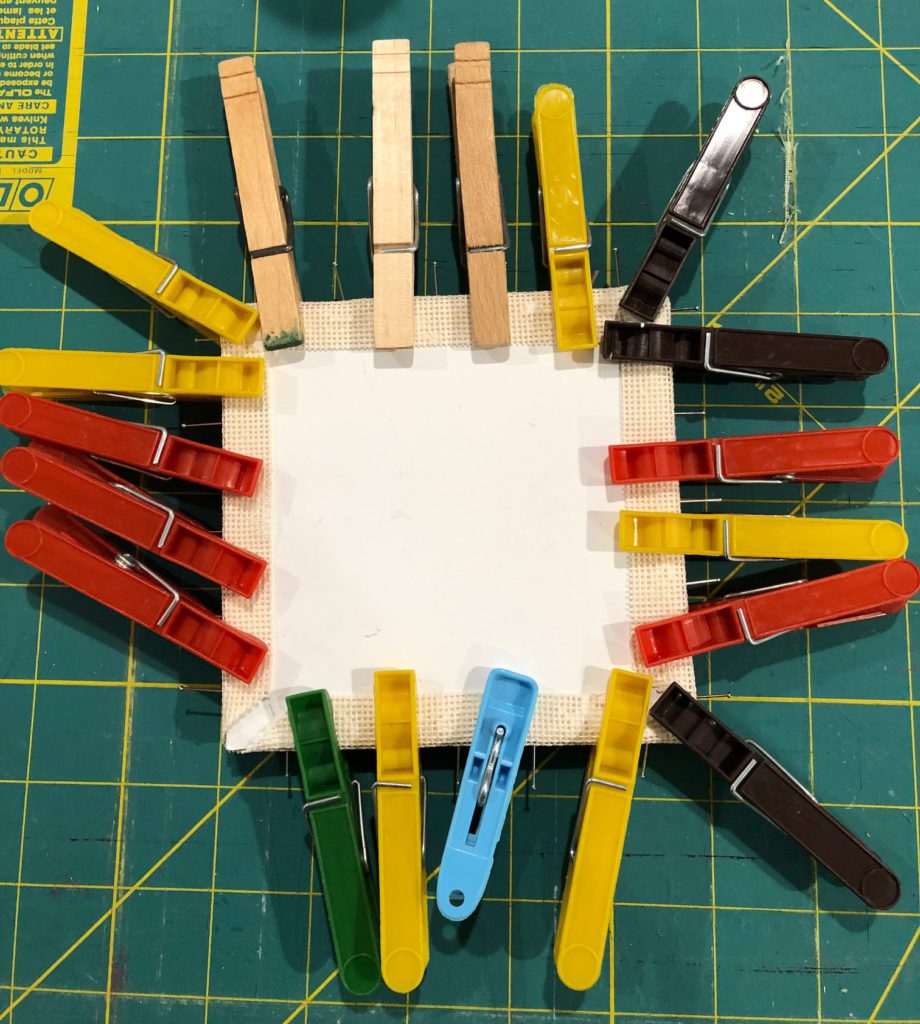
And here’s something not covered in Vonna’s instructions – I use clothespins as clamps while the glue is drying. Canvas is really hard to glue to foam core, I know from experience finishing ornaments, and the clothespins help hold the edges down while the glue is setting. They come off really easily, whether wood or plastic, and help tremendously in making sure there’s a good bond. You can see that a little more canvas would have been helpful, but there was enough.
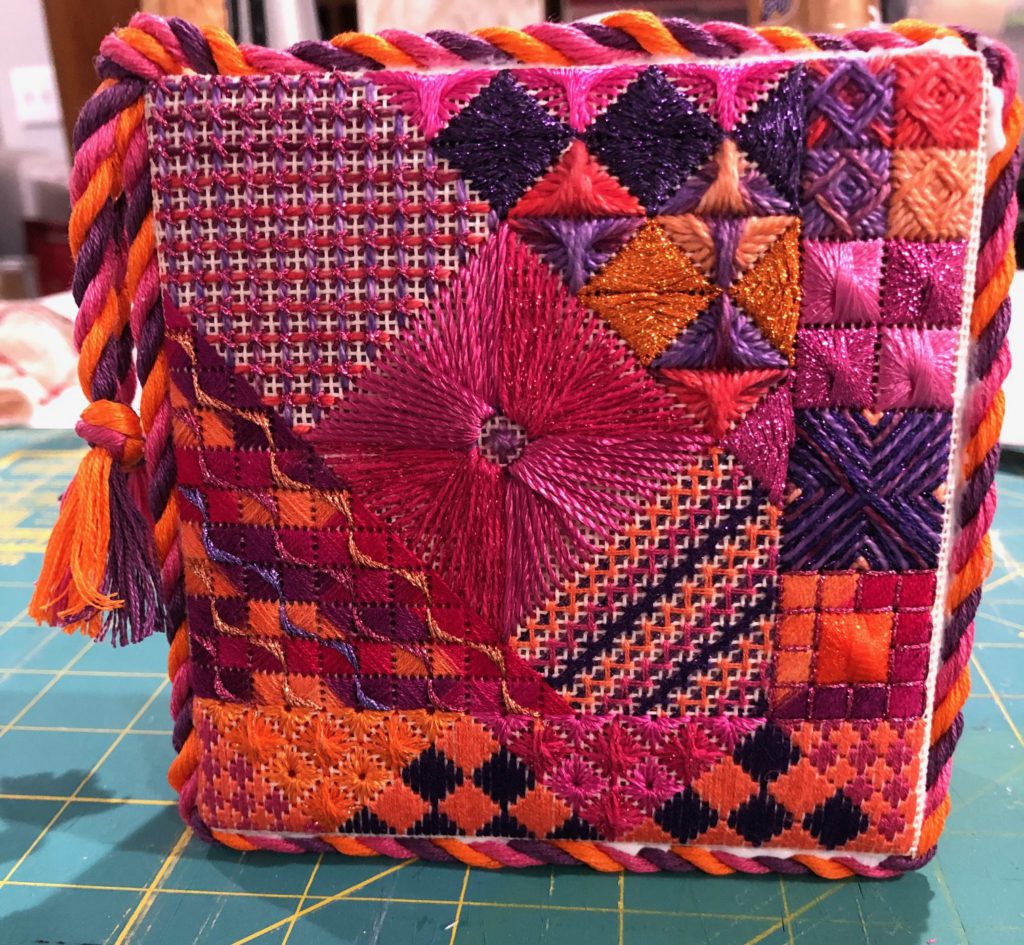
After this I forgot to take progress pictures, too much glue on my fingers, and I was pretty flustered trying to get everything right. But here’s the finished project.
I have too much glue seeping out and should have cleaned it up, which you’ll see in the side view and back view. Oh well, it dries clear and my patience was nearing an end.
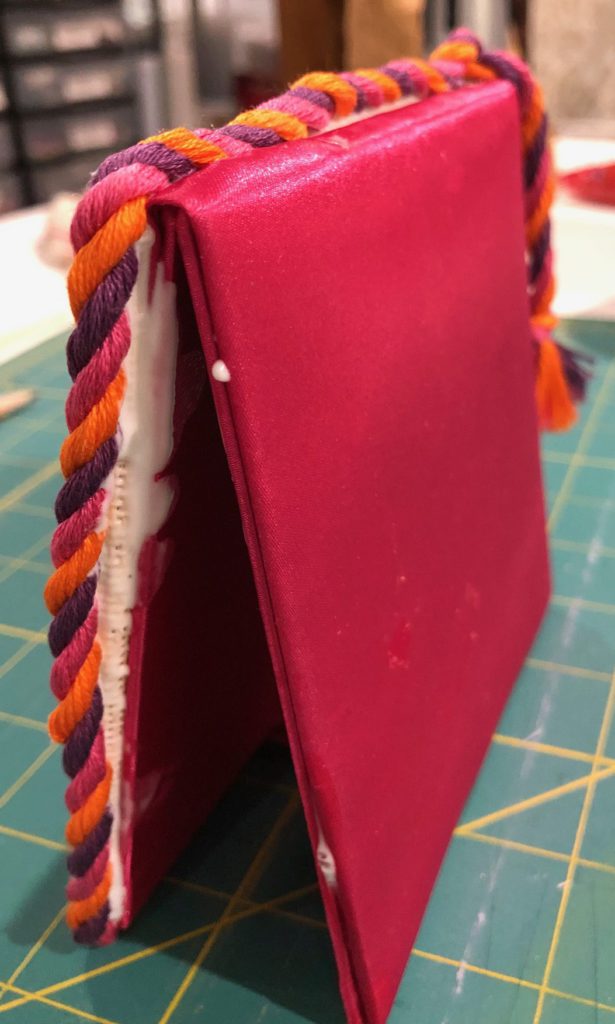
Side view 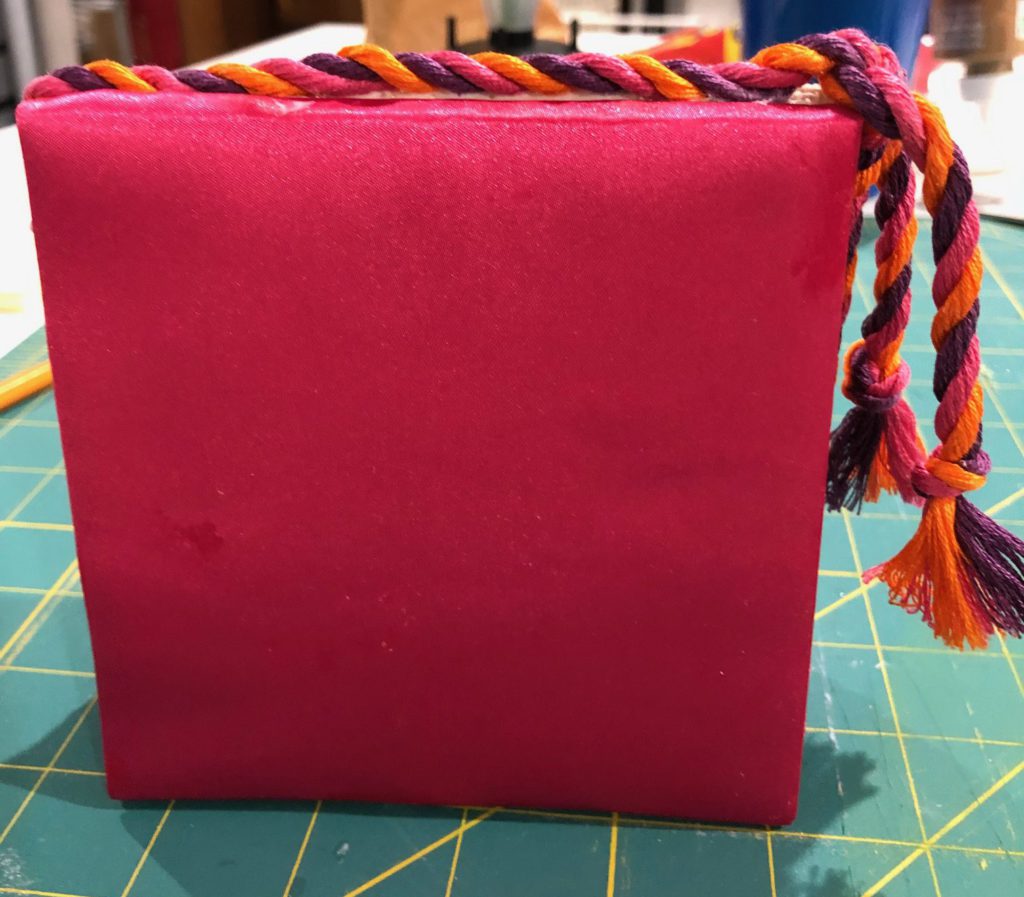
Back view
So not too bad for a first attempt at this kind of finish – not great, I know several things I’ll do differently next time provided there is a next time. This certainly confirmed for me what I’ve known all along – I’m not a finisher, and I can’t be trusted with glue.
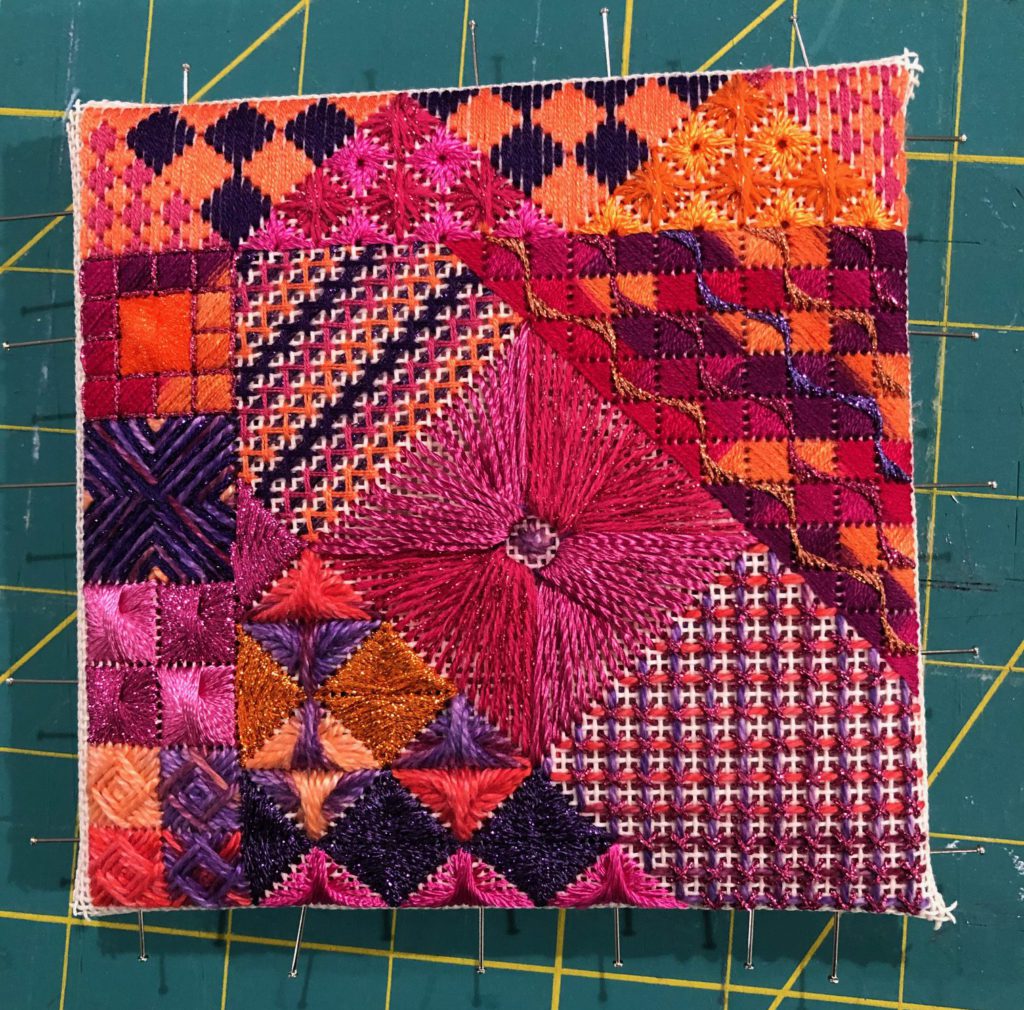
Harlequin Dance Redux is now completely finished! And I’m ready to start the next stitch along! I’m pulling threads and getting things together. This one will be a mystery, and I hope you’ll join me!