I have a ton of framed pieces, so I’ve started looking for ways to finish my projects without framing. I won’t give up framing, obviously, but to have something easy to finish without sending to a finisher, well that’s right up my alley right now.
I like these Lee self-finishing projects. Most of them are smallish, although some are larger. They’re really good quality. And, they give us a way to carry finished projects around with us. Have you ever told someone, I do needlepoint, and they say, oh yea, knitting. Well, if you have a project readily to hand, you can show them, no, not knitting, and not cross stitch either (nothing wrong with either hobby, just needlepoint is different).
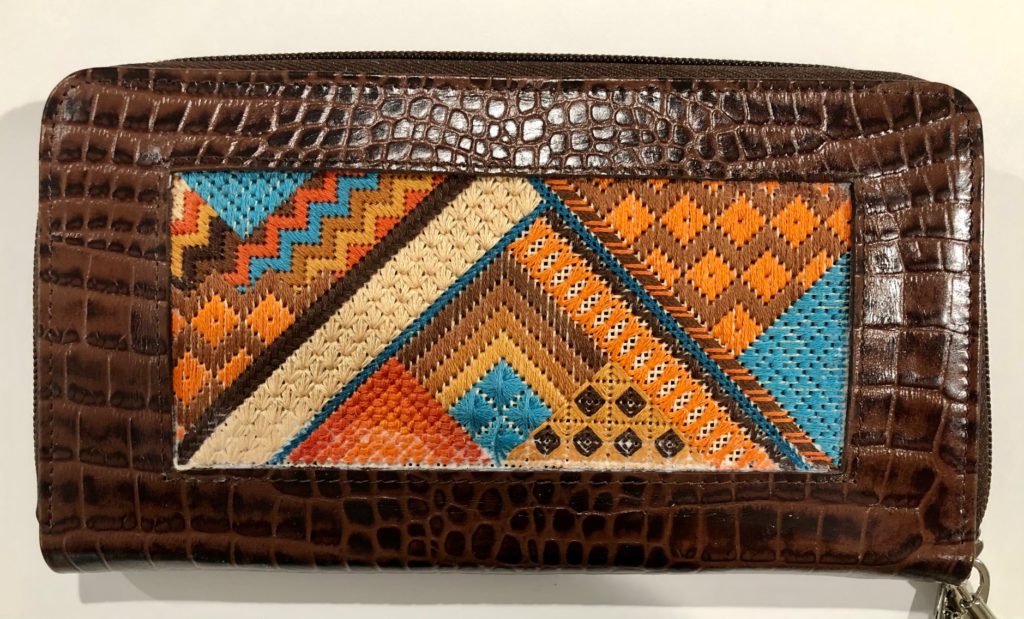
I like the colors of this project with the wallet, and chose them specifically to go with the brown wallet. I’ll carry it around with me for a while, and I’m hoping that the stitches don’t snag in my purse. I deliberately selected stitches that weren’t too long or floppy, and threads that don’t usually catch on things, but we’ll see – there’s an awful lot of stuff in my purse!
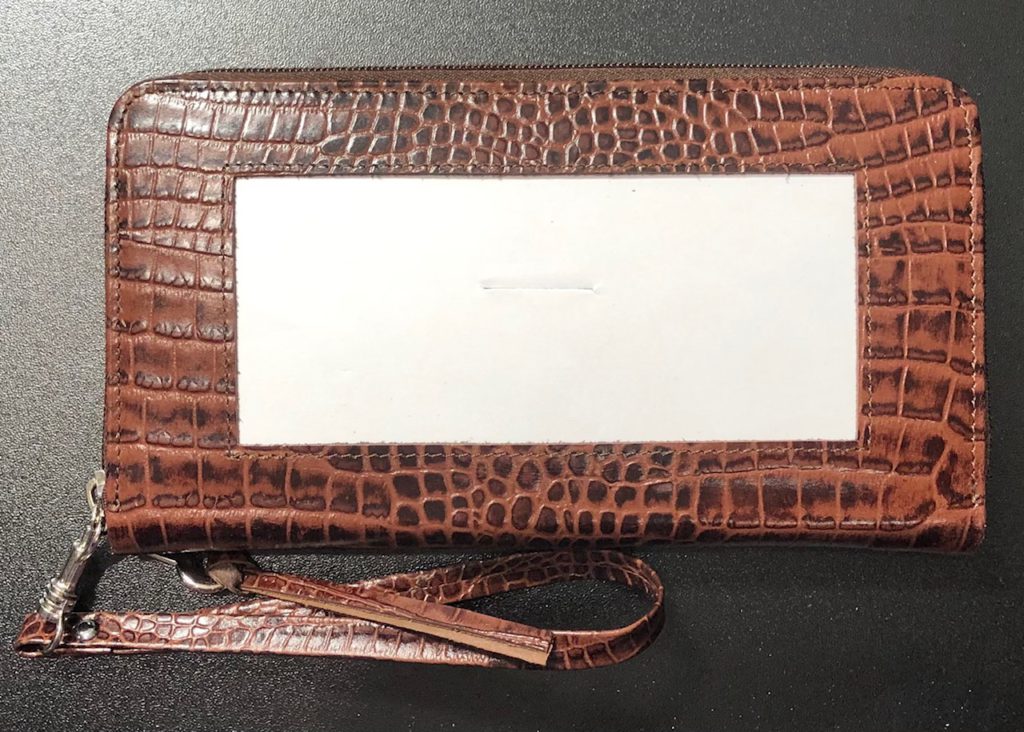
This is how the wallet looks when you get it. The white covers the sticky backing for the stitched work.
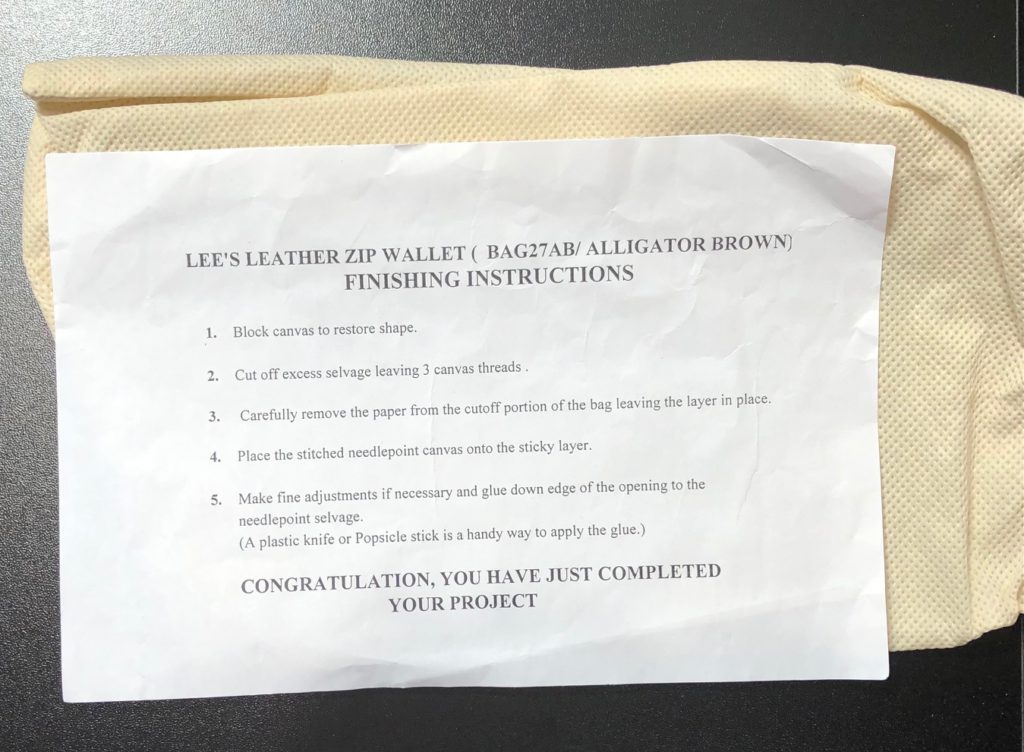
The wallet comes in a little bag, with finishing instructions. I may keep the wallet in the bag for a time in my purse, to protect it. It’s designed to protect the wallet until you are ready to finish it, and I don’t know how long I’ve had this particular wallet, but it still looks brand new.
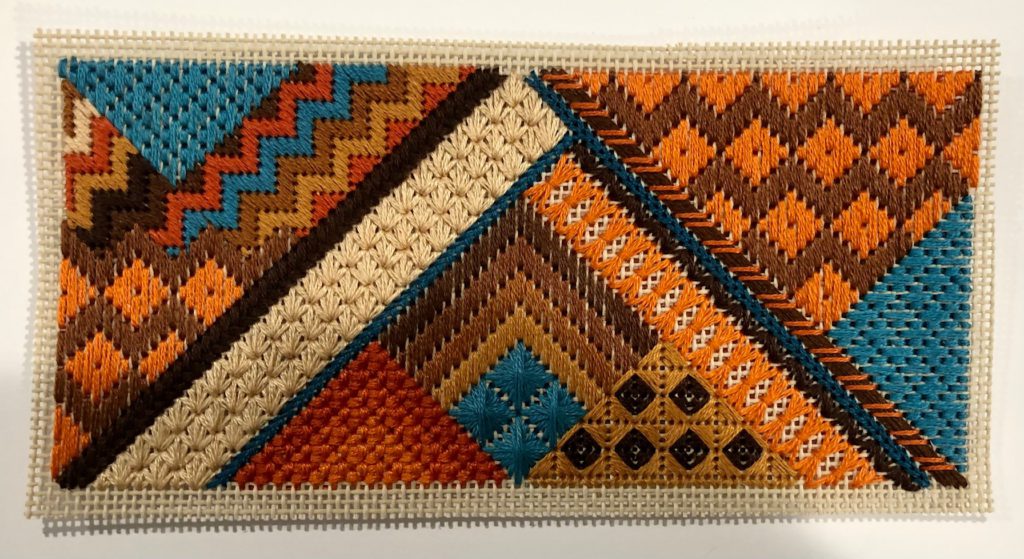
The instructions say to trim the stitched piece to 3 canvas threads on each side of the stitched design, so I did that. I got a little far on the right side, but still had a couple of threads, and since it’s stuck to the wallet I thought it would be ok.
Next thing is to remove the paper from the sticky side, so I did that. I had to work at it a little, and found that using my tweezers to grab the little bits of paper was effective. I kept my tweezers handy while I did the next part.
The instructions say to place the stitched needlepoint on the sticky layer, then make adjustments if necessary. Let me tell, the sticky layer is REALLY sticky. I wasn’t quite centered, and found it very hard to pick up the stitched piece to try again. This is where my tweezers came in handy again. I used the blunt end of the tweezers to make sure the stitched piece was poked all the way in. Turns out, my project was a little bit big, so the opening covers part of the stitching. That’s ok – I’d rather have some of it covered than bare unstitched canvas edges.
The final step is to glue down the edges of the wallet. I used Allene’s Tacky Glue, because it is specifically made for fabric, and dries clear. A good thing, because I got a little carried away. I put some glue in a puddle on a piece of paper, then used a chop stick to apply to the edges. I wiped away the excess glue that squeezed out a little when I pressed the edges down. But that’s ok too – I know those stitches aren’t going to snag and will remain in place!
So that’s my finished project. I have more Lee self-finishing bags, and some Sudberry boxes as well, and I have plans to use them to finish more stitch alongs this year!
2 thoughts on “On Point Wallet – finished”
Hi there, I have been doing many self finishing. Lee products. Like I get immediate gratification & things I can use. I am, however, a ‘glue’ chicken. Not important with tissue boxes and even the jewelry needle & gift boxes. But a wallet more reason. I was thrilled to find your post about glue & Lee finishing. I struggle to carefully cut around finished canvases but I then struggle to get them into boxes. No way with really sticky glue I’d not ruin my hours of work. You mentioned a glue fir corners & using a tweezer. If I ever do glue that will help.
I understand the reluctance to use glue, but I have used it several times on many projects and it holds up well. I have found that applying the glue with a toothpick helps to control and put it exactly where I want it. I use Alene’s Tacky Glue because it dries clear and is safe for fabrics. Hope this helps!