Click here for Harlequin Dance Redux Area M instructions
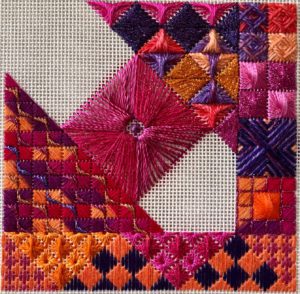
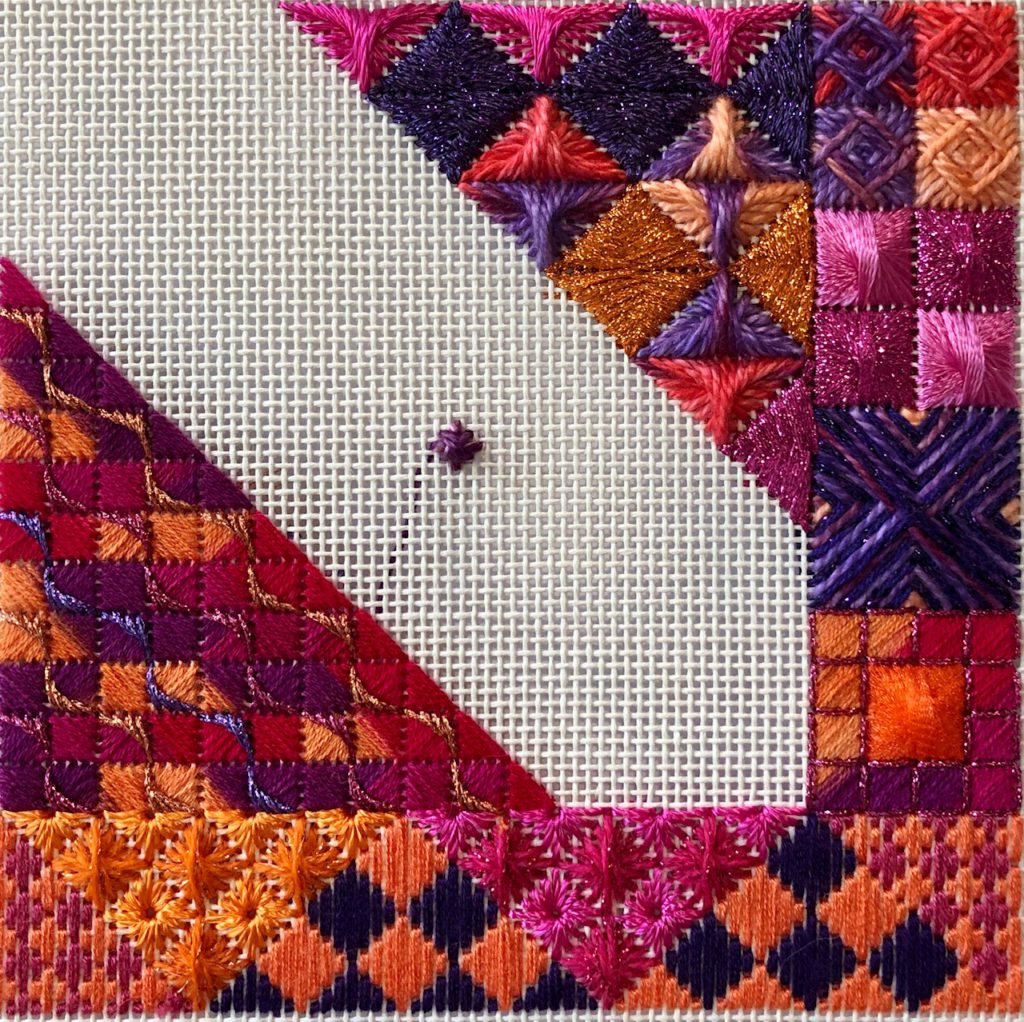
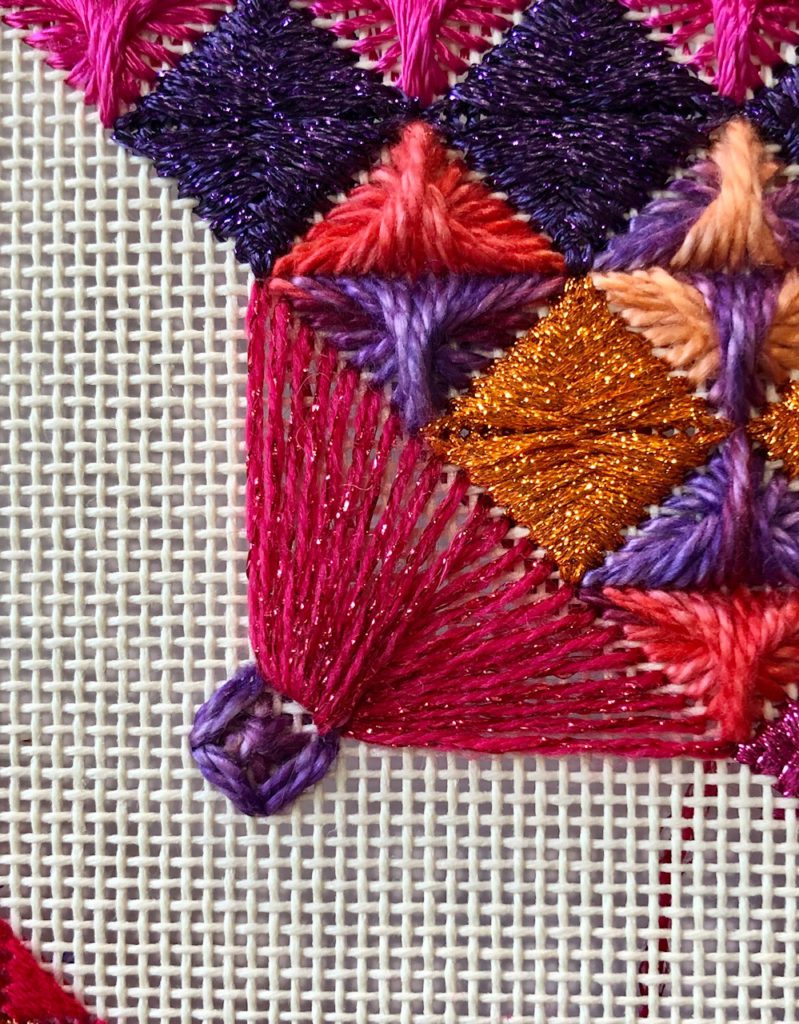
Every design needs a focal point – or does it? Anyway, we’ll debate that “rule” another time. I decided to make this next area, Area M, an important feature of the design, so I’ve added a “string art” type stitch, the Chilly Hollow stitch.
Jean Hilton diagrammed this stitch, and I’ve used it many times. It’s versatile, impressive, and relatively easy to stitch. I did it a single color with two different textures for a little added interest.
I began by stitching a center. A Chilly Hollow stitch has open canvas at the center, unless you fill it with something. I’ve had students add beads, buttons, charms, crystals – lots of different options. But I decided to use a relatively simple stitch, a double cross, with the over dyed heavy cotton. I anchored the single strand with a pin stitch shaped like a “T” under the center of the stitch, but after stitching I didn’t end off; the next stitch is with the same thread.
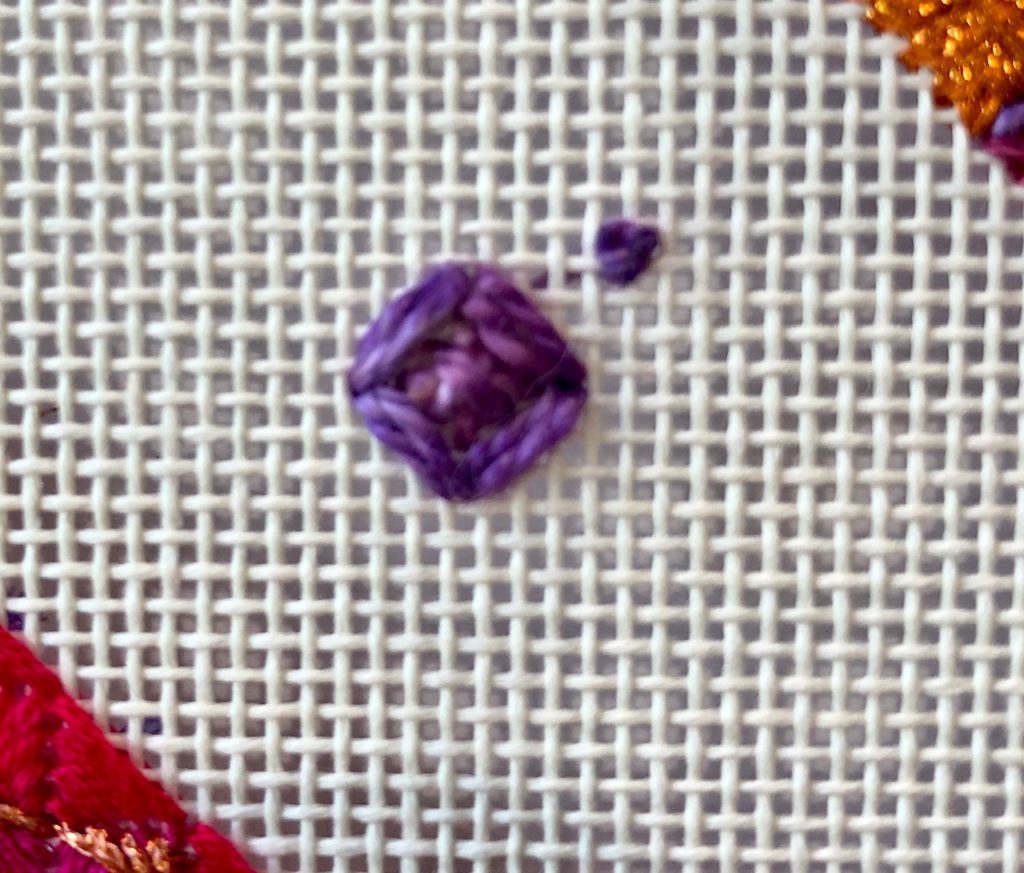
A Chilly Hollow stitch requires an anchor. The stitches are made over this anchor; it isn’t very visible, but needs to be pretty firm to hold the stitches. I used the same thread I used for the double cross. Each leg of the anchor is made twice, coming up and down in the same holes two times. Further explanation is available in the instructions pdf at the top of the page.
After stitching the anchor I ended off this thread with a pin stitch, visible just beyond the anchor. This will be covered by the Chilly Hollow stitches.
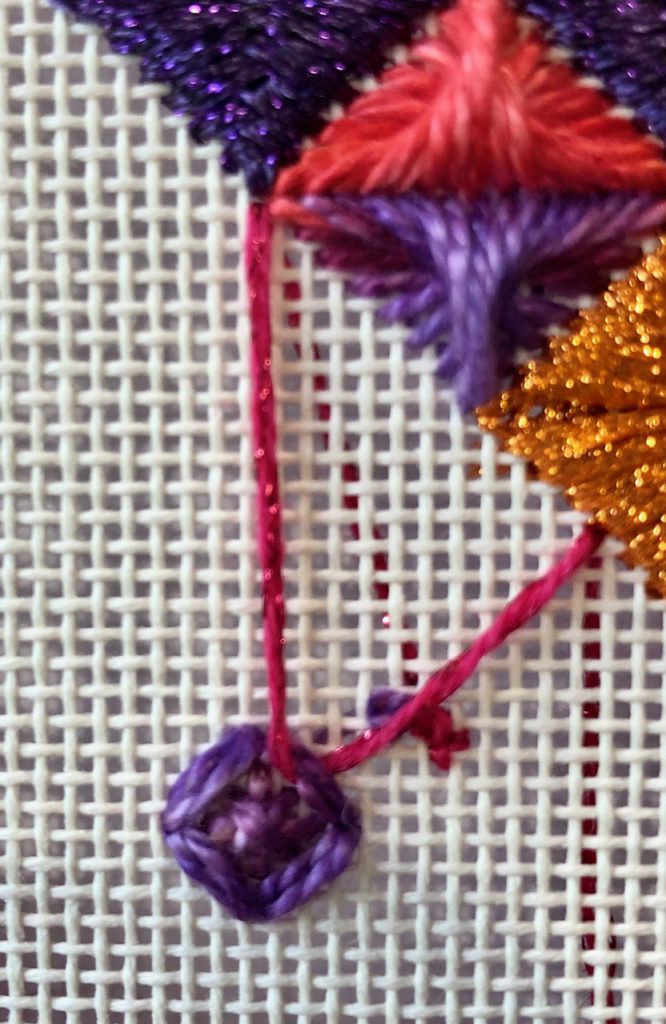
This is the first stitch of the Chilly Hollow, close up so you can see the structure. The needle comes up in the shared holes with the sprat’s head and Amadeus stitches, goes over the anchor, under the anchor and ends in shared holes with the sprat’s head. The needle only enters and exits the canvas at the edges of the Chilly Hollow stitch.
This photo shows the first part of the Chilly Hollow stitch. The needle comes up in adjacent diagonal holes, and goes down in adjacent diagonal holes, which makes it very easy to count this stitch. The thread wraps over the anchor before ending. I coax the stitches to lay next to each other as shown, not allowing them to pile up. You can also see how the anchor gets pulled a little, which is why I stitch the center first – too difficult to count accurately in case the anchor isn’t pulled the same in every direction. I used Rainbow Gallery Glisten, a wool/metallic braid, for these parts of the Chilly Hollow, working with about 48″ to stitch both sections without having to end off.
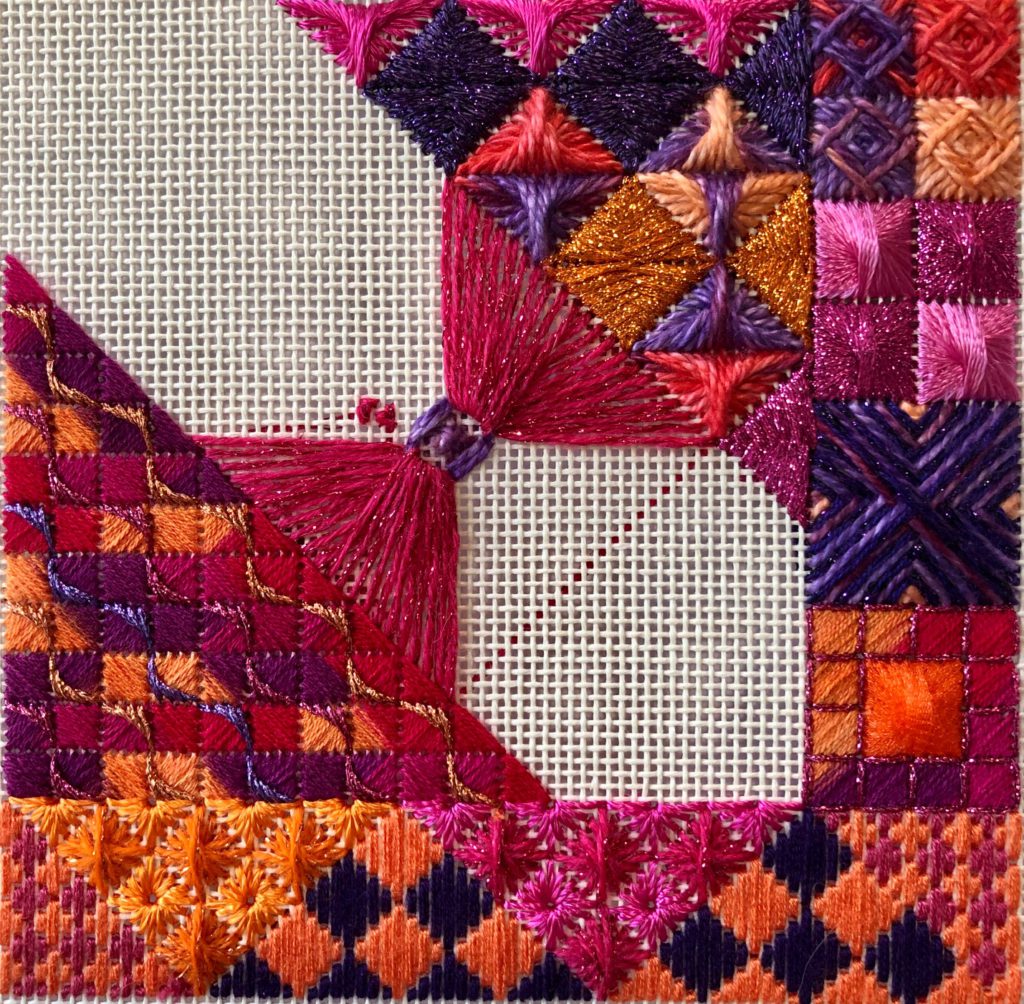
Continuing with the same thread, I stitched the opposite quadrant. I used a different thread for the other parts of the Chilly Hollow. These end points share with the reverse scotch stitches, but are in adjacent diagonal holes, wrapping over the anchor as shown. I ended off this thread; you can see my pin stitches just above the quadrant.

I used Rainbow Gallery Patina to stitch the remaining sections, anchoring with pin stitches. After I finished the stitches, I ended off with a pin stitch by separating the threads of the Chilly Hollow until I could see the canvas underneath, and made my pin stitch in the shape of a “T”. After snipping off the thread I smoothed the Chilly Hollow stitches over the pin stitch, covering it completely.
So that’s our focal point – hope you like it! We have two weeks to go until this project is completed. I’m already planning the next stitch along!
Here are the diagrams for this week’s area:
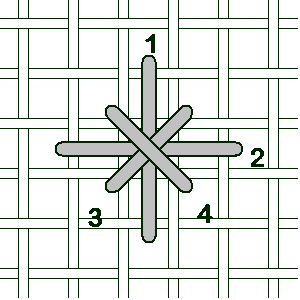
Double Cross 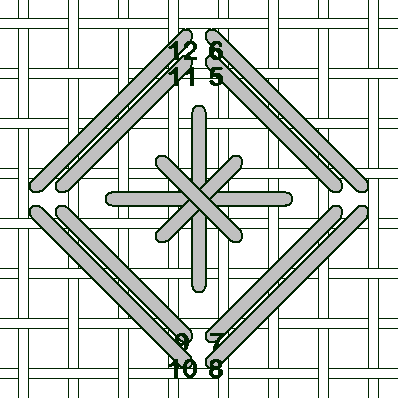
Chilly Hollow anchor
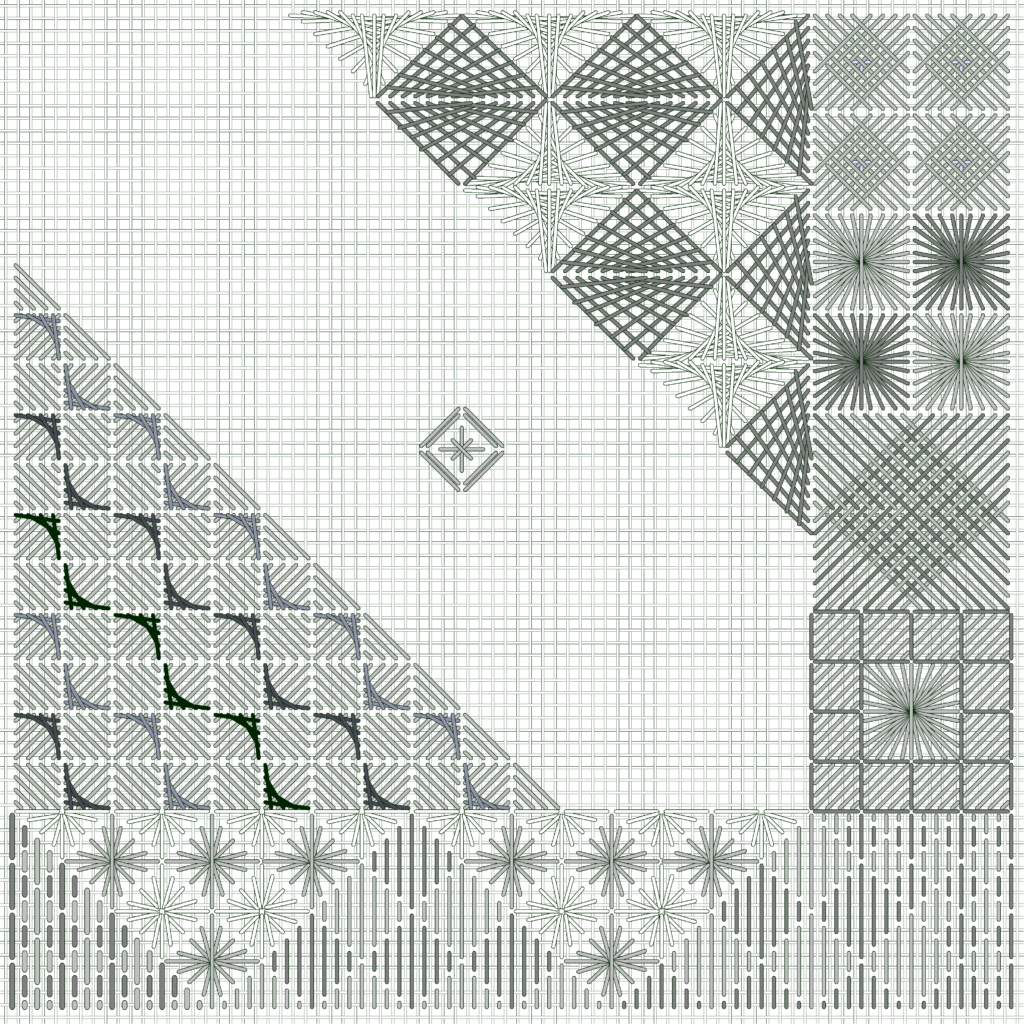
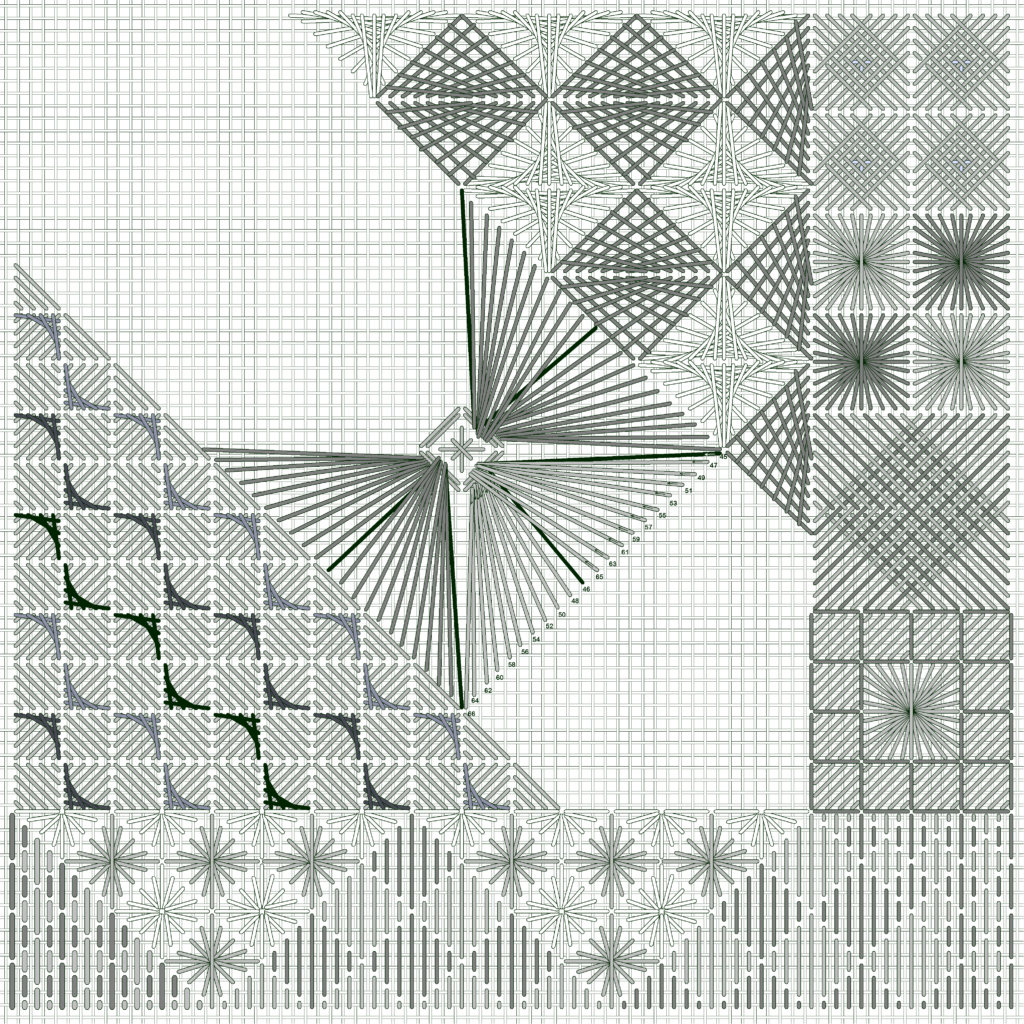
This diagram shows the placement for the double cross and anchor.
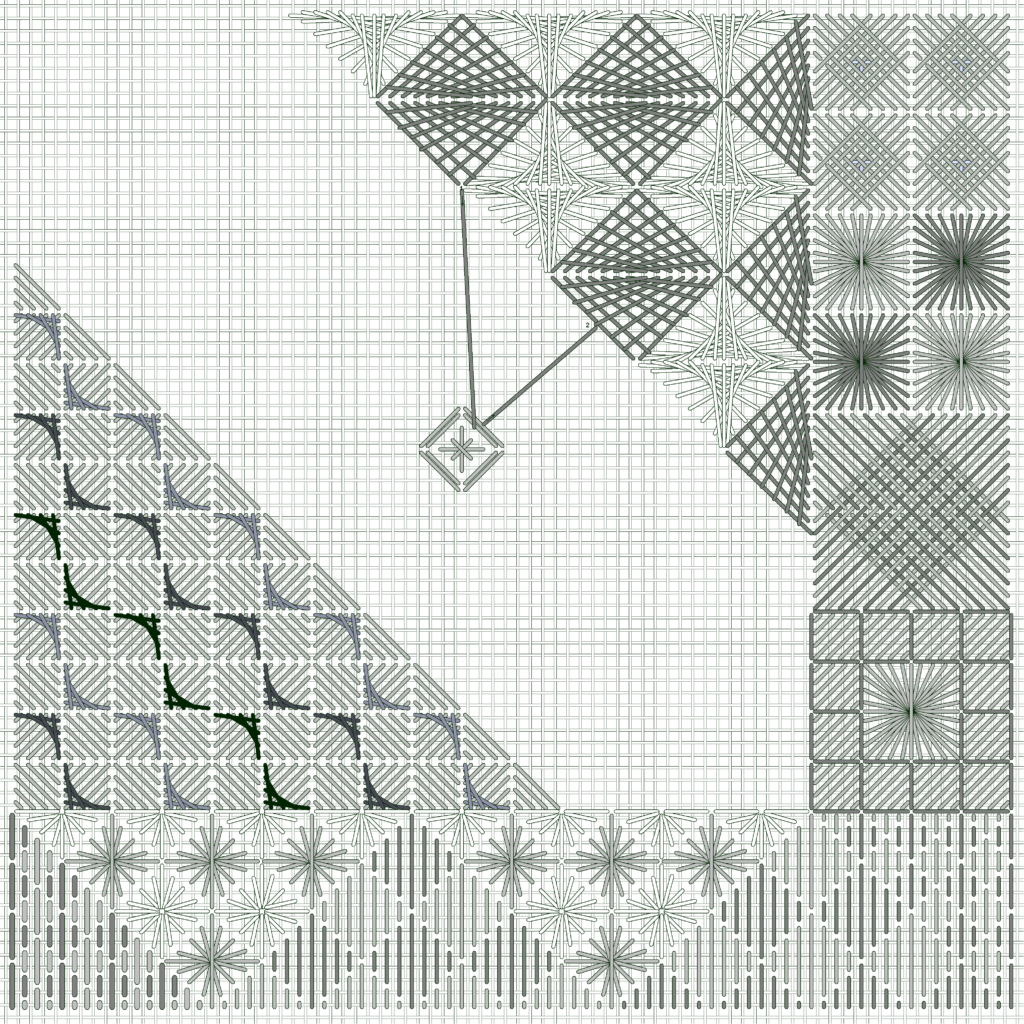
This shows the placement for the first stitch of the Chilly Hollow.
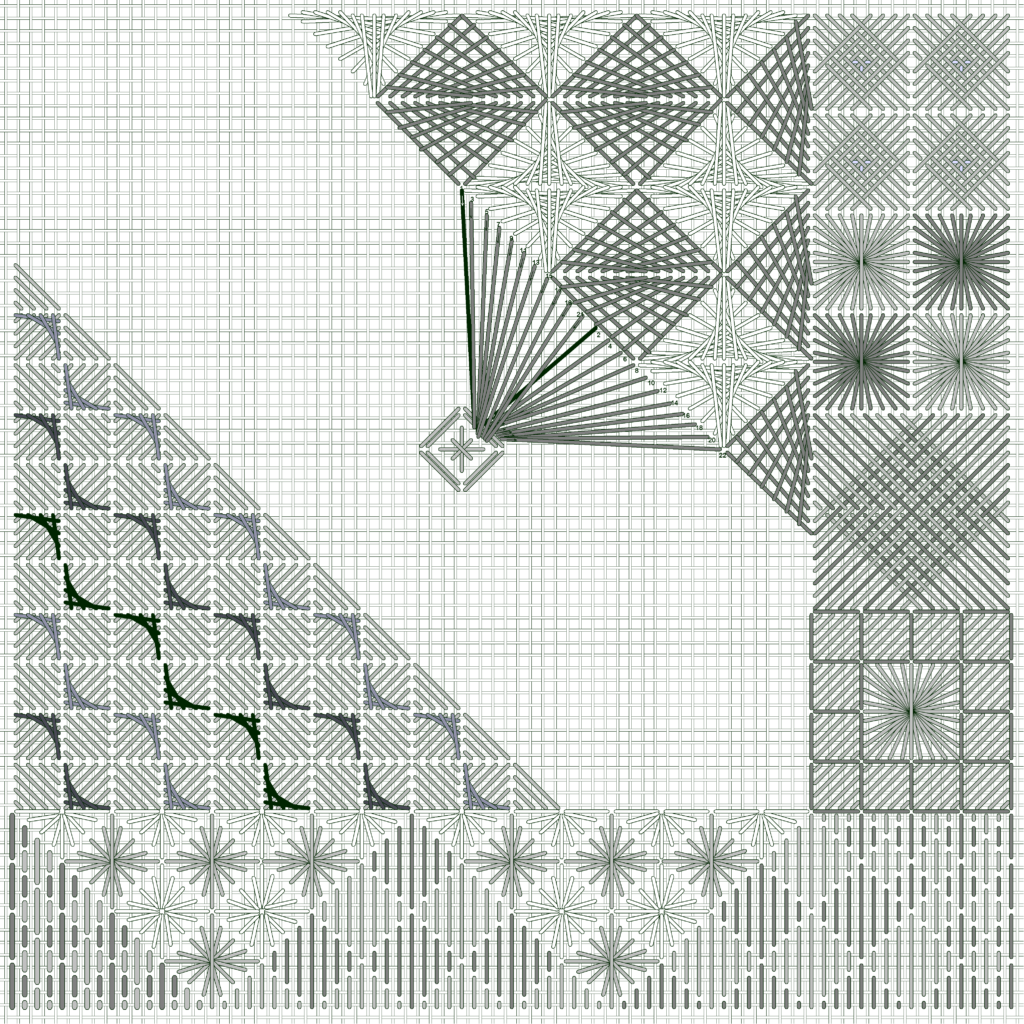
First quadrant 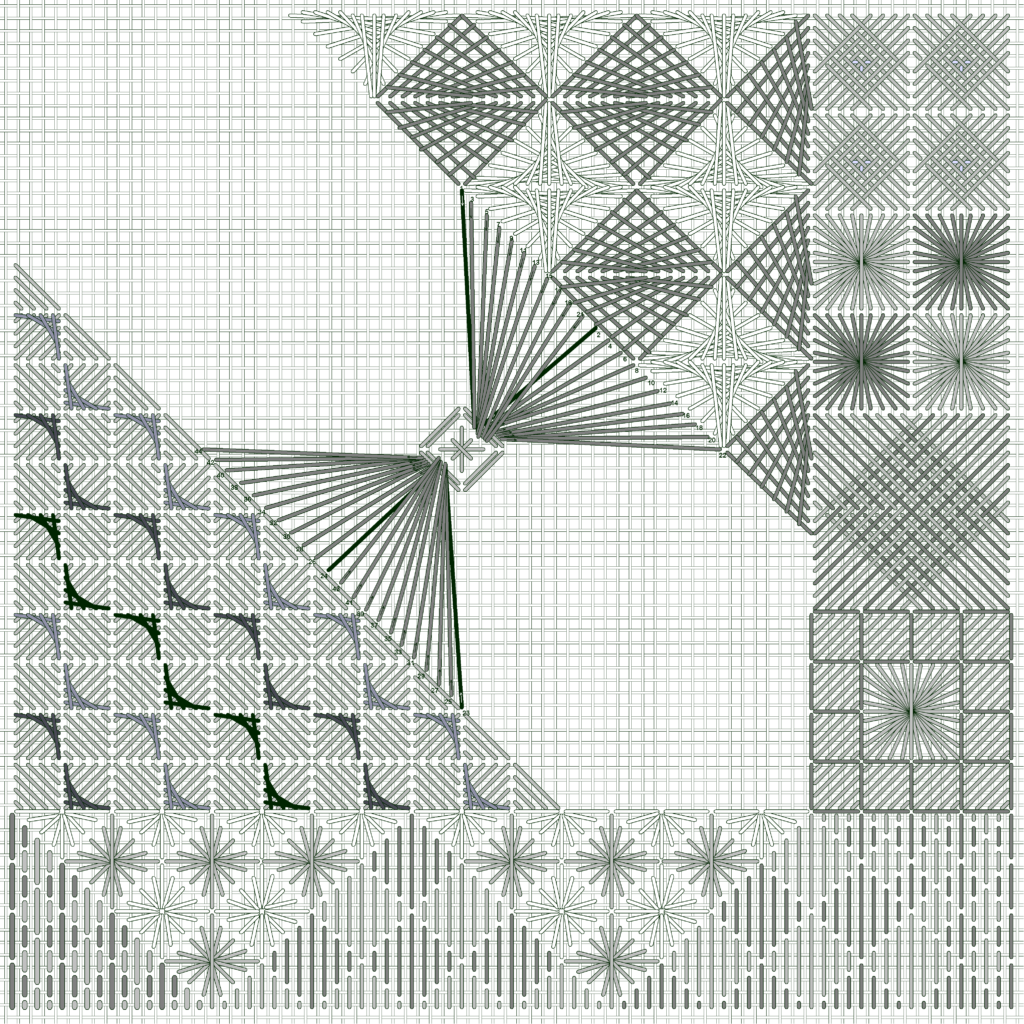
Third quadrant
Second quadrant 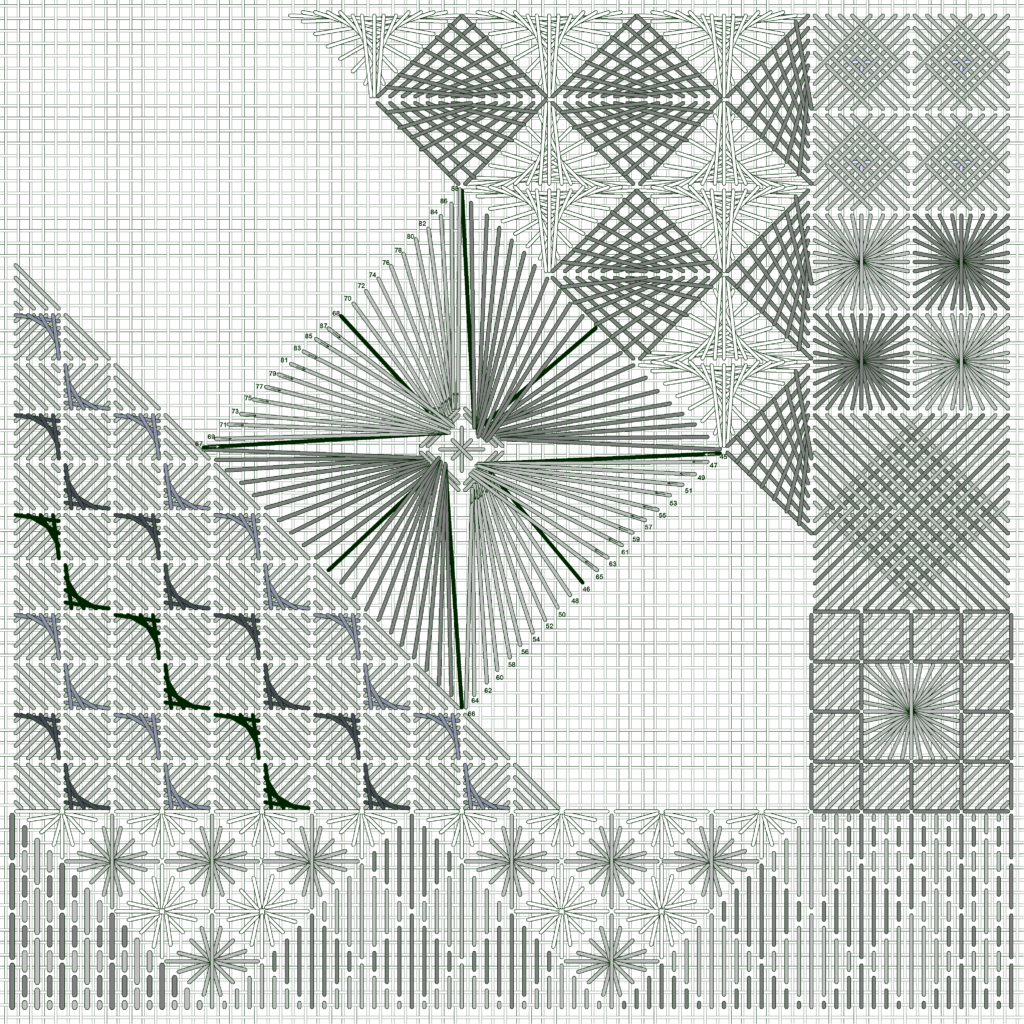
Fourth quadrant
Have fun! If you’ve never stitched a Chilly Hollow stitch before I hope you enjoyed it, and learned something!