Click here for Harlequin Dance Redux Area N instructions
We’re nearing the end of this project! I decided to do something a little more open for the last two areas. After a lot of looking at darning patterns, laid fillings, and other stitches, I decided to do a laid ribbon with herringbone stitches over the ribbons.
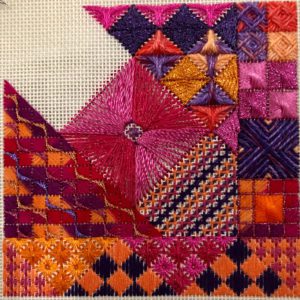
I think the effect looks like rick rack. With all the solid canvas coverage, I thought a little lighter stitching would be a nice contrast and call attention to the center area.
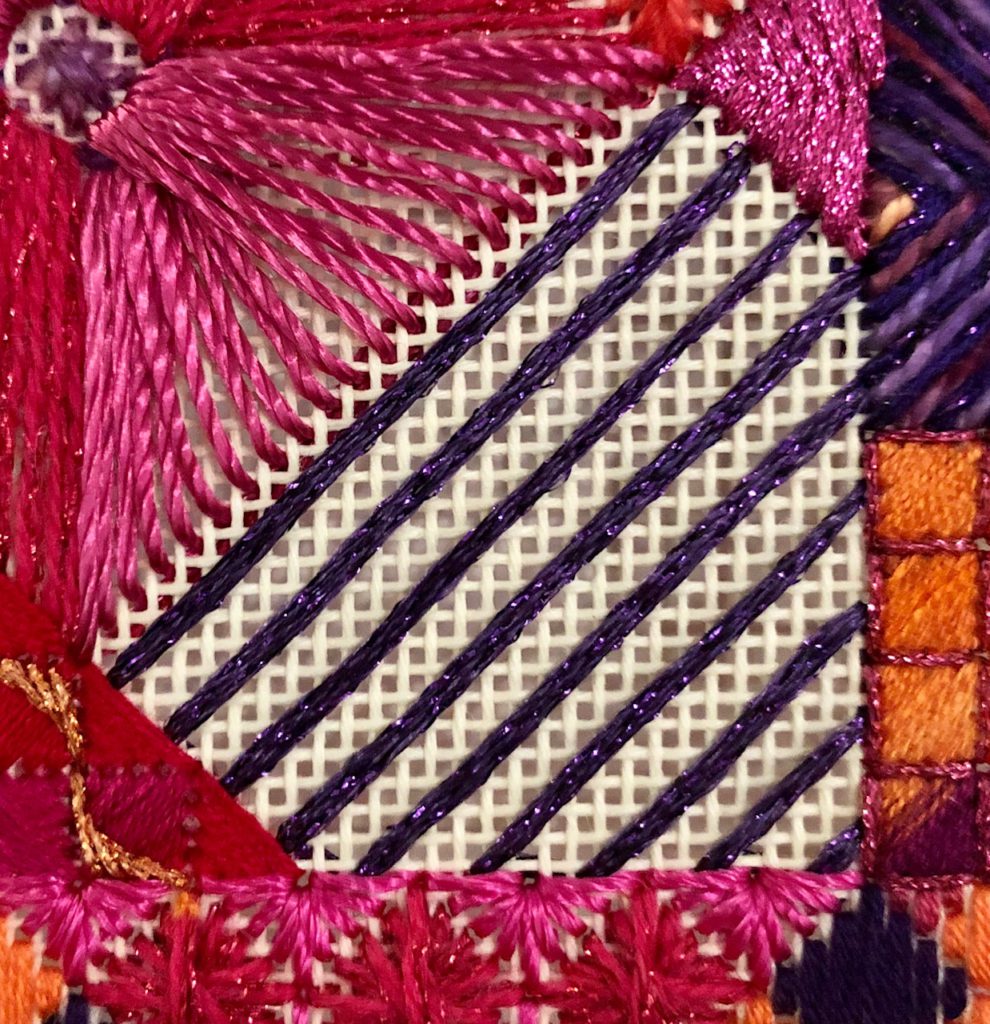
I used Rainbow Gallery Neon Rays+ in purple to add a little sparkle to this area. I really like this ribbon!
I used the Rainbow Gallery Mandarin Floss to stitch the herringbone stitches, and used all three of the colors I have in alternating rows. I think it is a really pretty effect.
I did not follow all the rules for herringbone for this area. Usually, the desired effect is to have all of the stitches crossing the same way. Since I’m lazier than that and didn’t want to end off between rows, I made some executive decisions.
I started with the longest rows, and stitched from the left side to the right. Usually all herringbone rows start from the same side. But for this project, I did the next three rows starting from the right side, so the threads cross differently. If I were entering this piece for judging, it would be a no-no! But I’m not, and I’m fine with it. The bottom three rows start from the left side, same as the first three rows.
A simple area that stitched up pretty fast!
Here are the diagrams for this week:
I stitched the laid ribbons “economy style” rather than satin stitch style. I wanted to make sure the carry threads on the back didn’t show through to the front of this open canvas area.
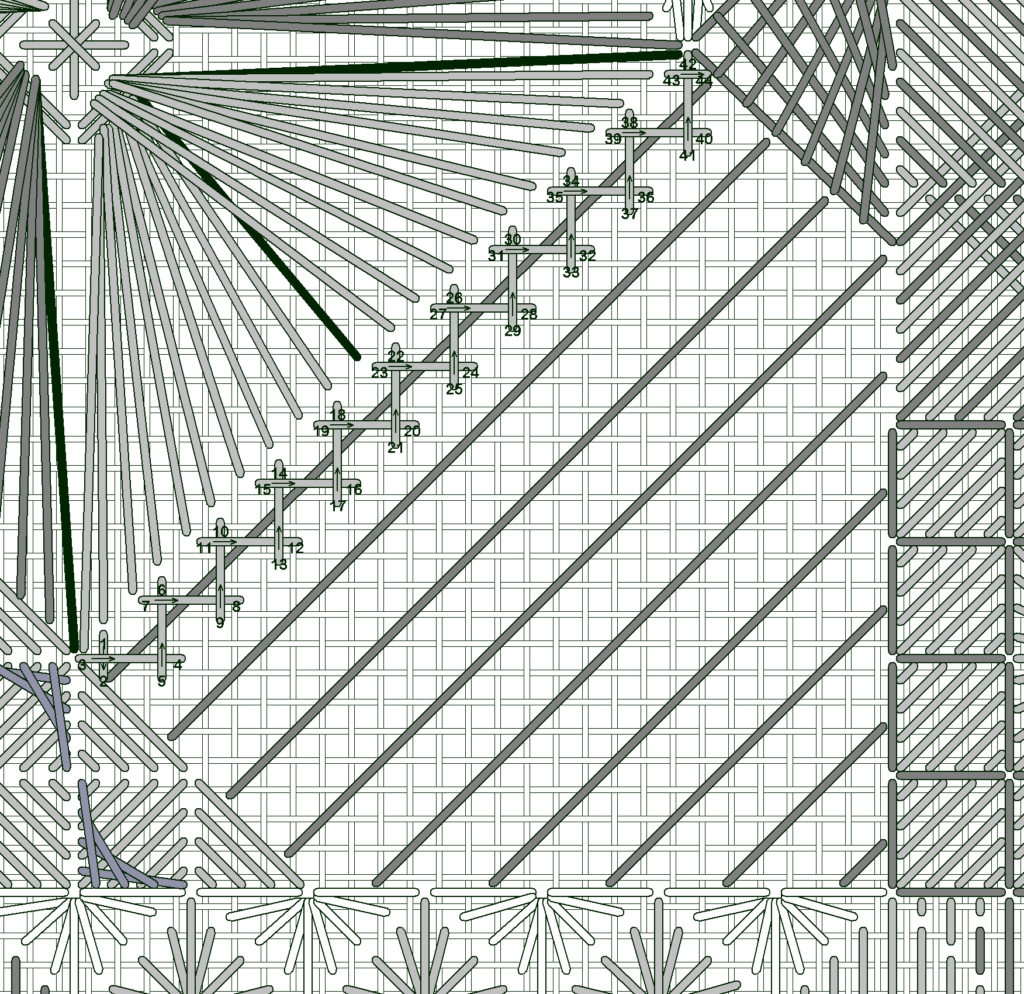
First herringbone row 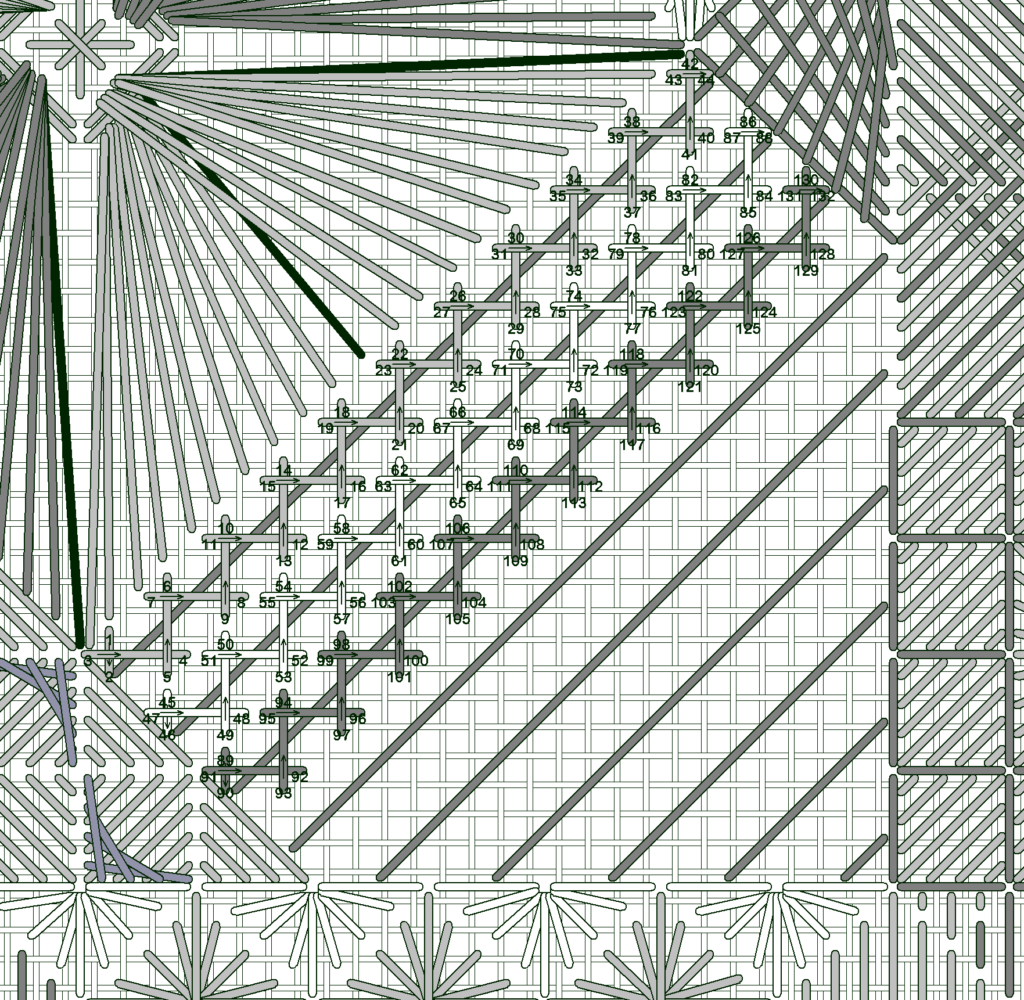
Second and third rows
We’ll finish up next week!