Now let’s add some stitches to start expanding the design. Around the center we have waffles and reverse waffles, starting with waffles. I used Rainbow Gallery Neon Rays N98 Lite Lavender. The original color way used Rainbow Gallery Neon Rays N64 Aqua. It will take about 28″ to stitch two. I find it helps to control the rayon ribbon if I iron it before using it, and cut the end at an angle to reduce fraying. I use a mini-flat iron, like the ones used to straighten hair, to iron the ribbon. Make sure it’s dedicated to your needlepoint rather than hair – you don’t want hair products to transfer to the ribbon.
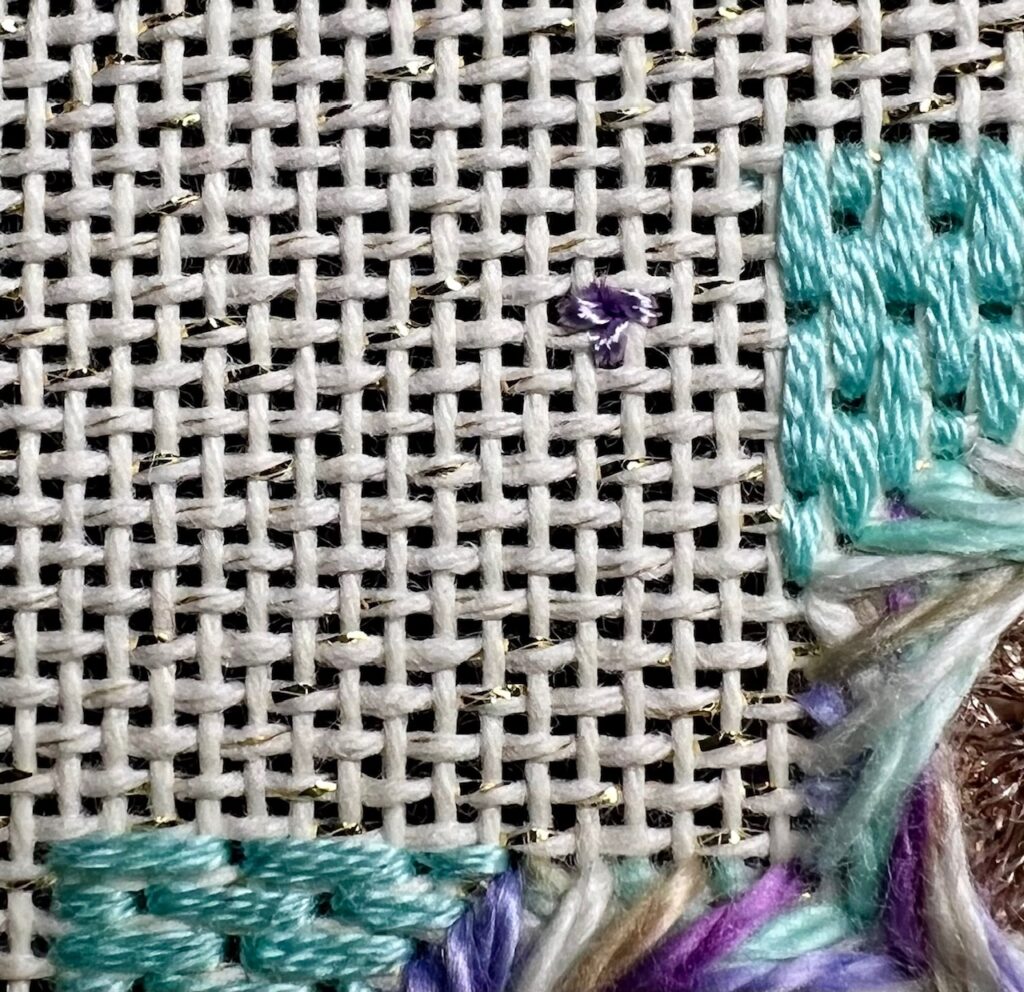
I anchored with a “T” stitch, placed where it will be covered by the waffle stitch. Make the T stitch from the front. If you pierce the ribbon while making the T stitch it will help anchor the thread.

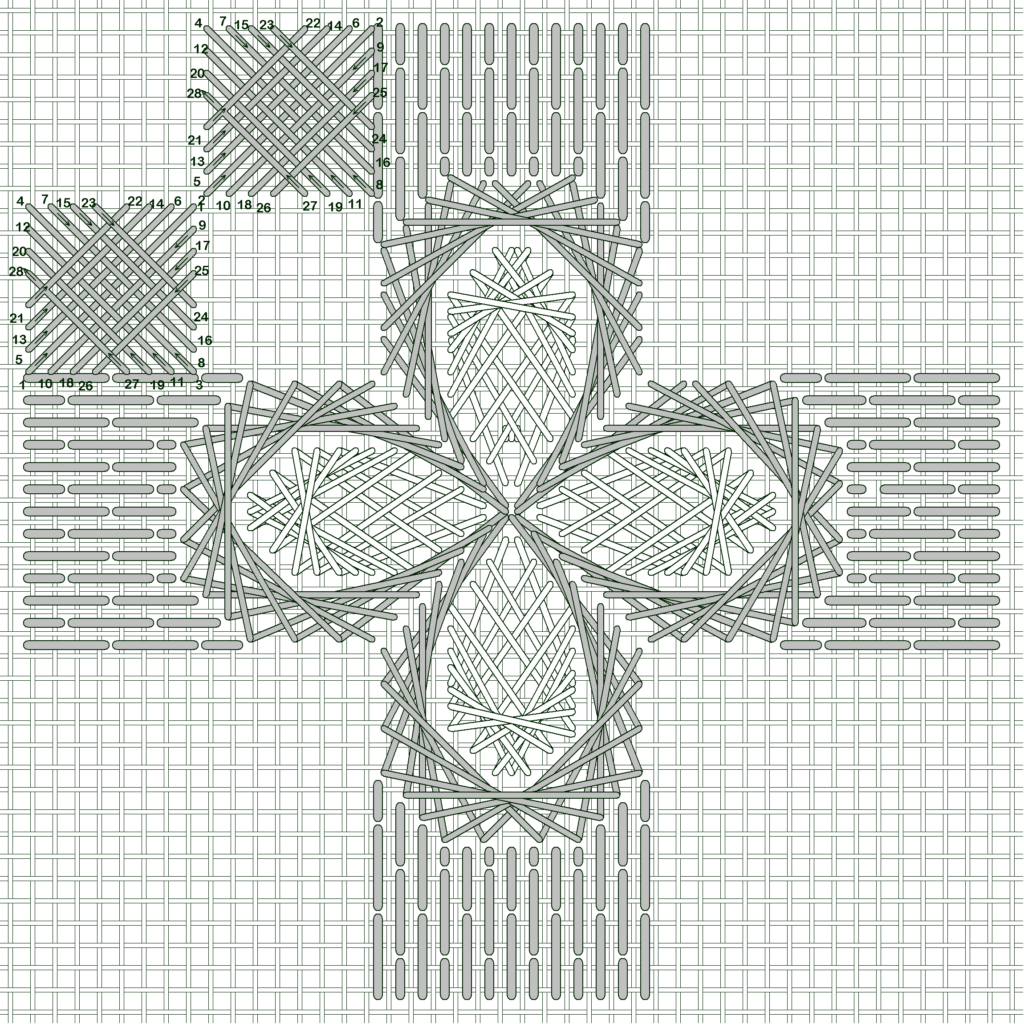
A waffle stitch begins with a large cross stitch, here covering 8 x 8 canvas threads. Then, stitch in the order and direction shown. This puts all of the thread carries along the outside edges, forming an open square on the back.
Before ending the last stitch (stitch 27) slide the needle under the first stitch of the last round (stitch 21) before inserting into the canvas. This puts a thread on top of every thread all the way around and gives the waffle a more refined look.
The length should be enough to stitch both of the waffles in one corner. Use a laying tool to keep the ribbon very flat and straight because the thread is much prettier and reflects the light better!
End off with a T stitch. I placed it in the open area where it would be covered by the next stitches.
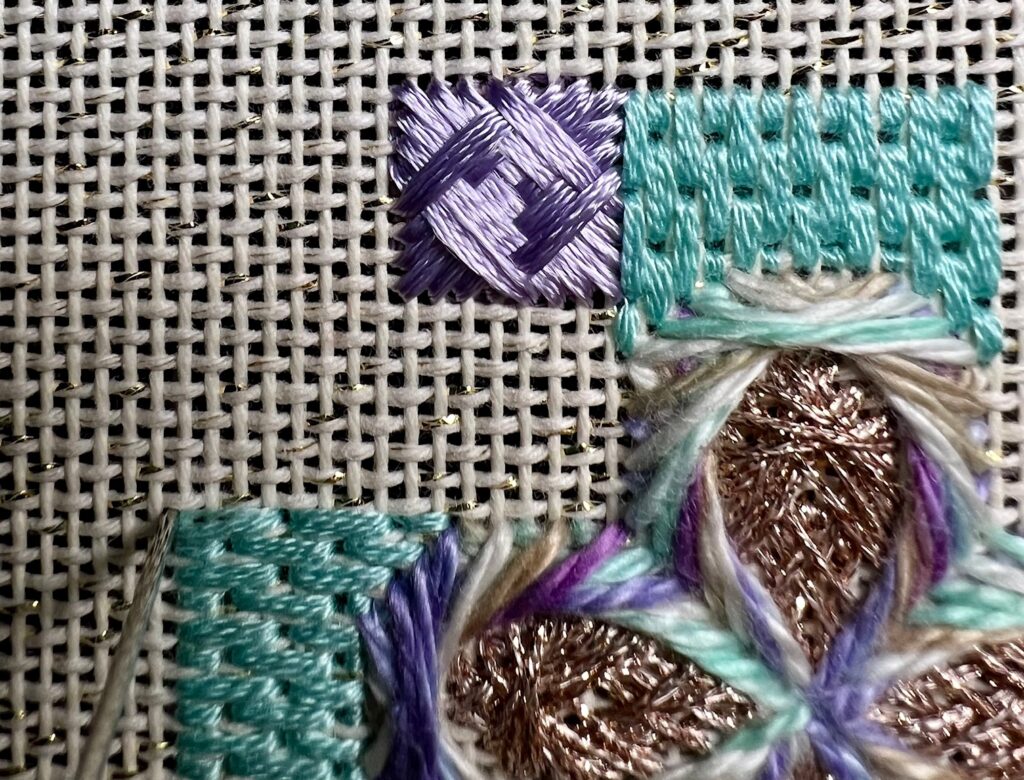
This is a single waffle stitch. You can see how the last stitch slides under the first stitch of the last round before ending.
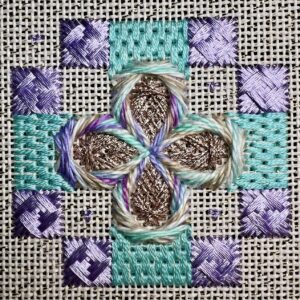
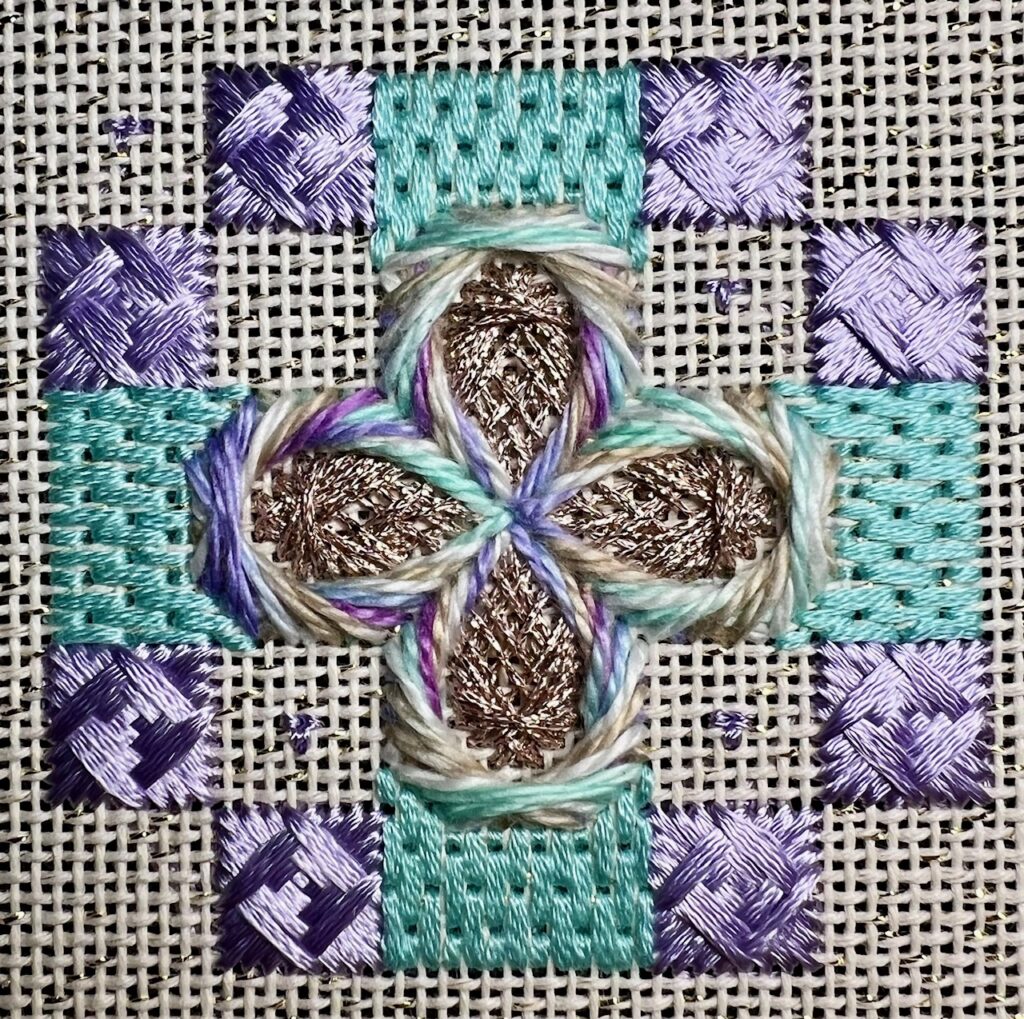
Stitch a pair of waffle stitches in each corner. You can see my ending T stitches in the open areas.
You can also see how the rayon ribbon reflects light differently. It looks like I used different colors, but it’s all the same thread.
Next time we’ll stitch reverse waffles!