Click here for On Point Wallet design Area E Instructions
We didn’t do a whole lot last week with the border stitch, but this week we cover more ground with an upright diamond ray stitch.
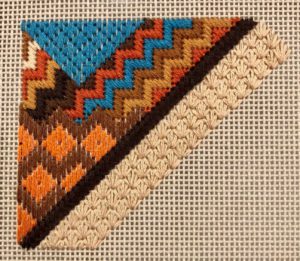
I chose a light color because there was so much of it, and I didn’t want this area to overwhelm the other areas, but if you want a darker color feel free!
I started stitching at the bottom. The points of the rays are covered by the next stitches, and it’s easier to lay threads across the points rather than come up under an existing stitch. So, I started at the bottom. This means your first stitch is a compensating stitch, which I don’t normally like to do, but can’t be helped in this case.
This stitch could easily be an eyelet, but I like it with a consistent full coverage, so take care that you don’t pull the canvas when putting five stitches in the same hole. If you need to open the hole a tiny bit so the stitches lay more smoothly do that, but don’t pull too much.
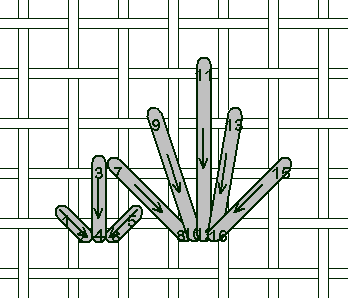
Here’s a close up diagram of the first couple of stitches. You can see that the numbers are all jumbled together, but the numbers aren’t that important. Just remember to end the stitches in the same hole and you’ll do fine.
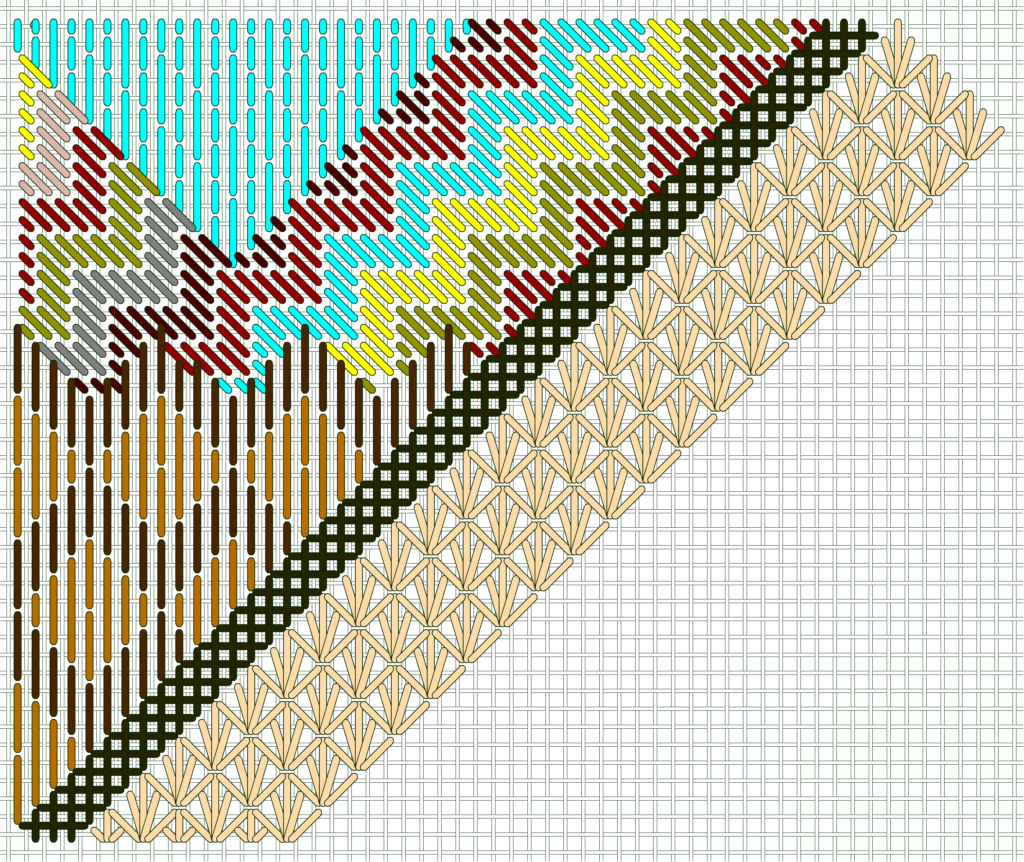
And here’s the whole area. You can see the tapering at the top edge. I stitched in back and forth rows from the bottom to the top, starting on the left edge at the bottom and working up.
Let me know if you have any questions about this area. Put on something you like to watch on tv, a podcast or audio book, and have fun!