Click here for Regal Autumn Instructions Part D
I love the look of this spicy red! After last week’s steps I wasn’t sure about the colors, but now I’m liking it a lot better.
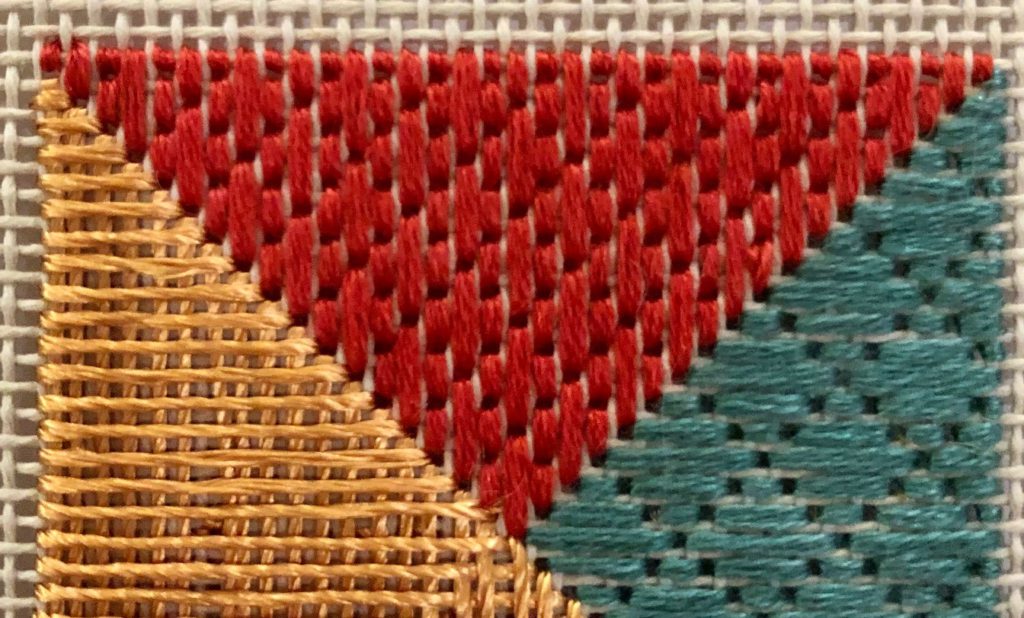
The Hungarian stitches finish out the space formed by the sprat’s heads and pavilion diamonds.
I used 4 strands of floss to give it a really solid look. Since there are 4 areas with this stitch, and the stitches have to be laid, it will take a little bit of time to stitch – not as much as the pavilion diamonds because the area is smaller.
I tried stitching this a couple of different ways, but settled on working from the tip of the triangle to the outer edge. This allowed me to bring the needle up in empty holes for the most part, and down in shared holes. Coming up in empty holes and down in shared holes make your satin stitches look smoother.
As you stitch I’m sure you’ll notice that the last row is compensated, with partial Hungarian stitches. It’s all in the diagram so don’t fret about it.
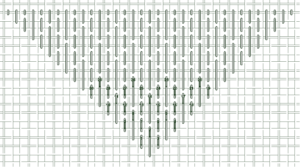
Speaking of diagrams, here’s the layout for the Hungarian stitches. I worked in back and forth rows, as shown by the numbers.
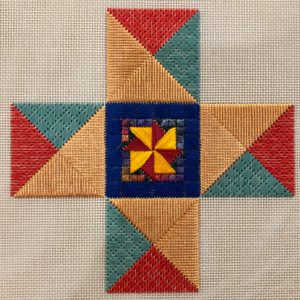
Here’s the entire project so far:
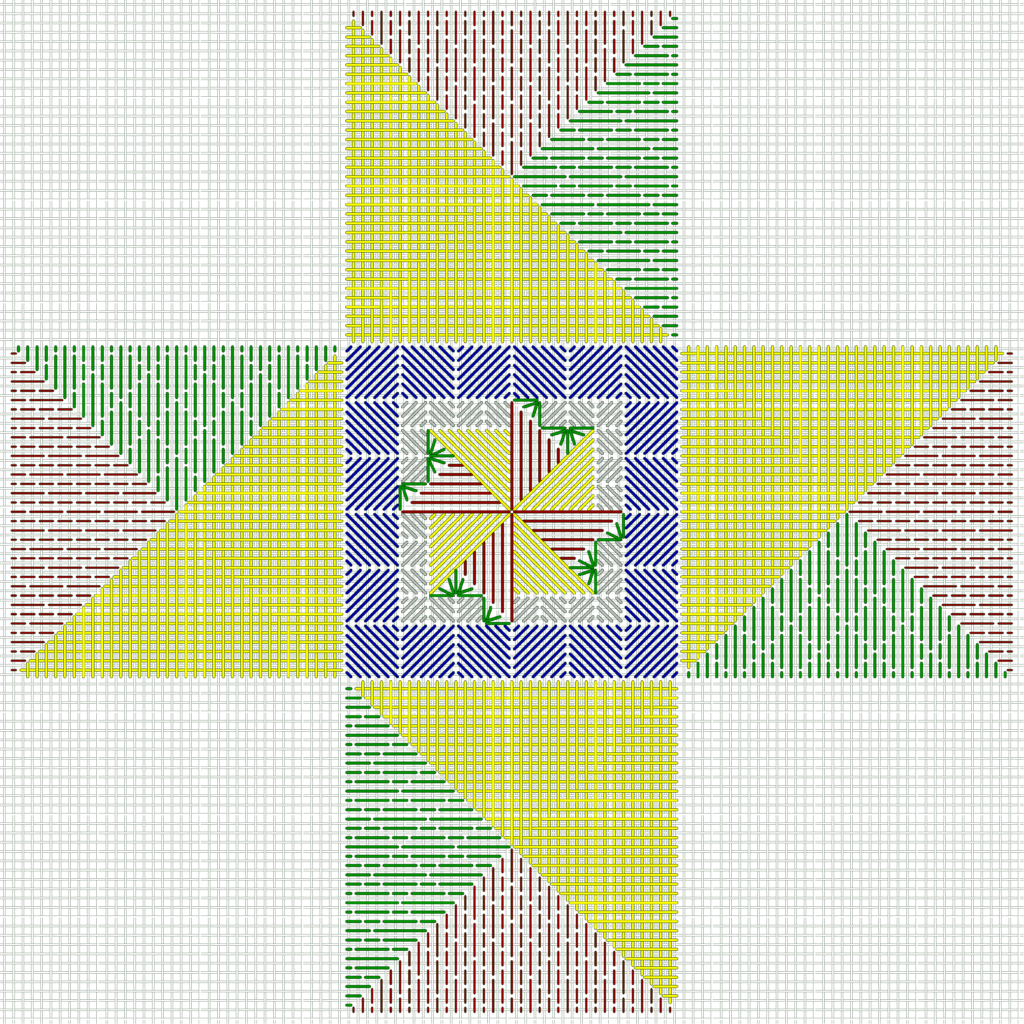
Teaser for next week – I’ve already stitched it, and really love the way it looks! Can’t wait to share it with you!